How to Remove Bathroom Sealant
Over time, bathroom sealant can become grubby and ineffective, so it helps to change it every once in a while. But removing it isn’t as easy as it might seem. Get it wrong, and you can end up scratching or damaging the bathtub, shower or basins you’re trying to reseal.
Here’s how to remove bathroom sealant safely and effectively.
Removing Old Bathroom Sealant
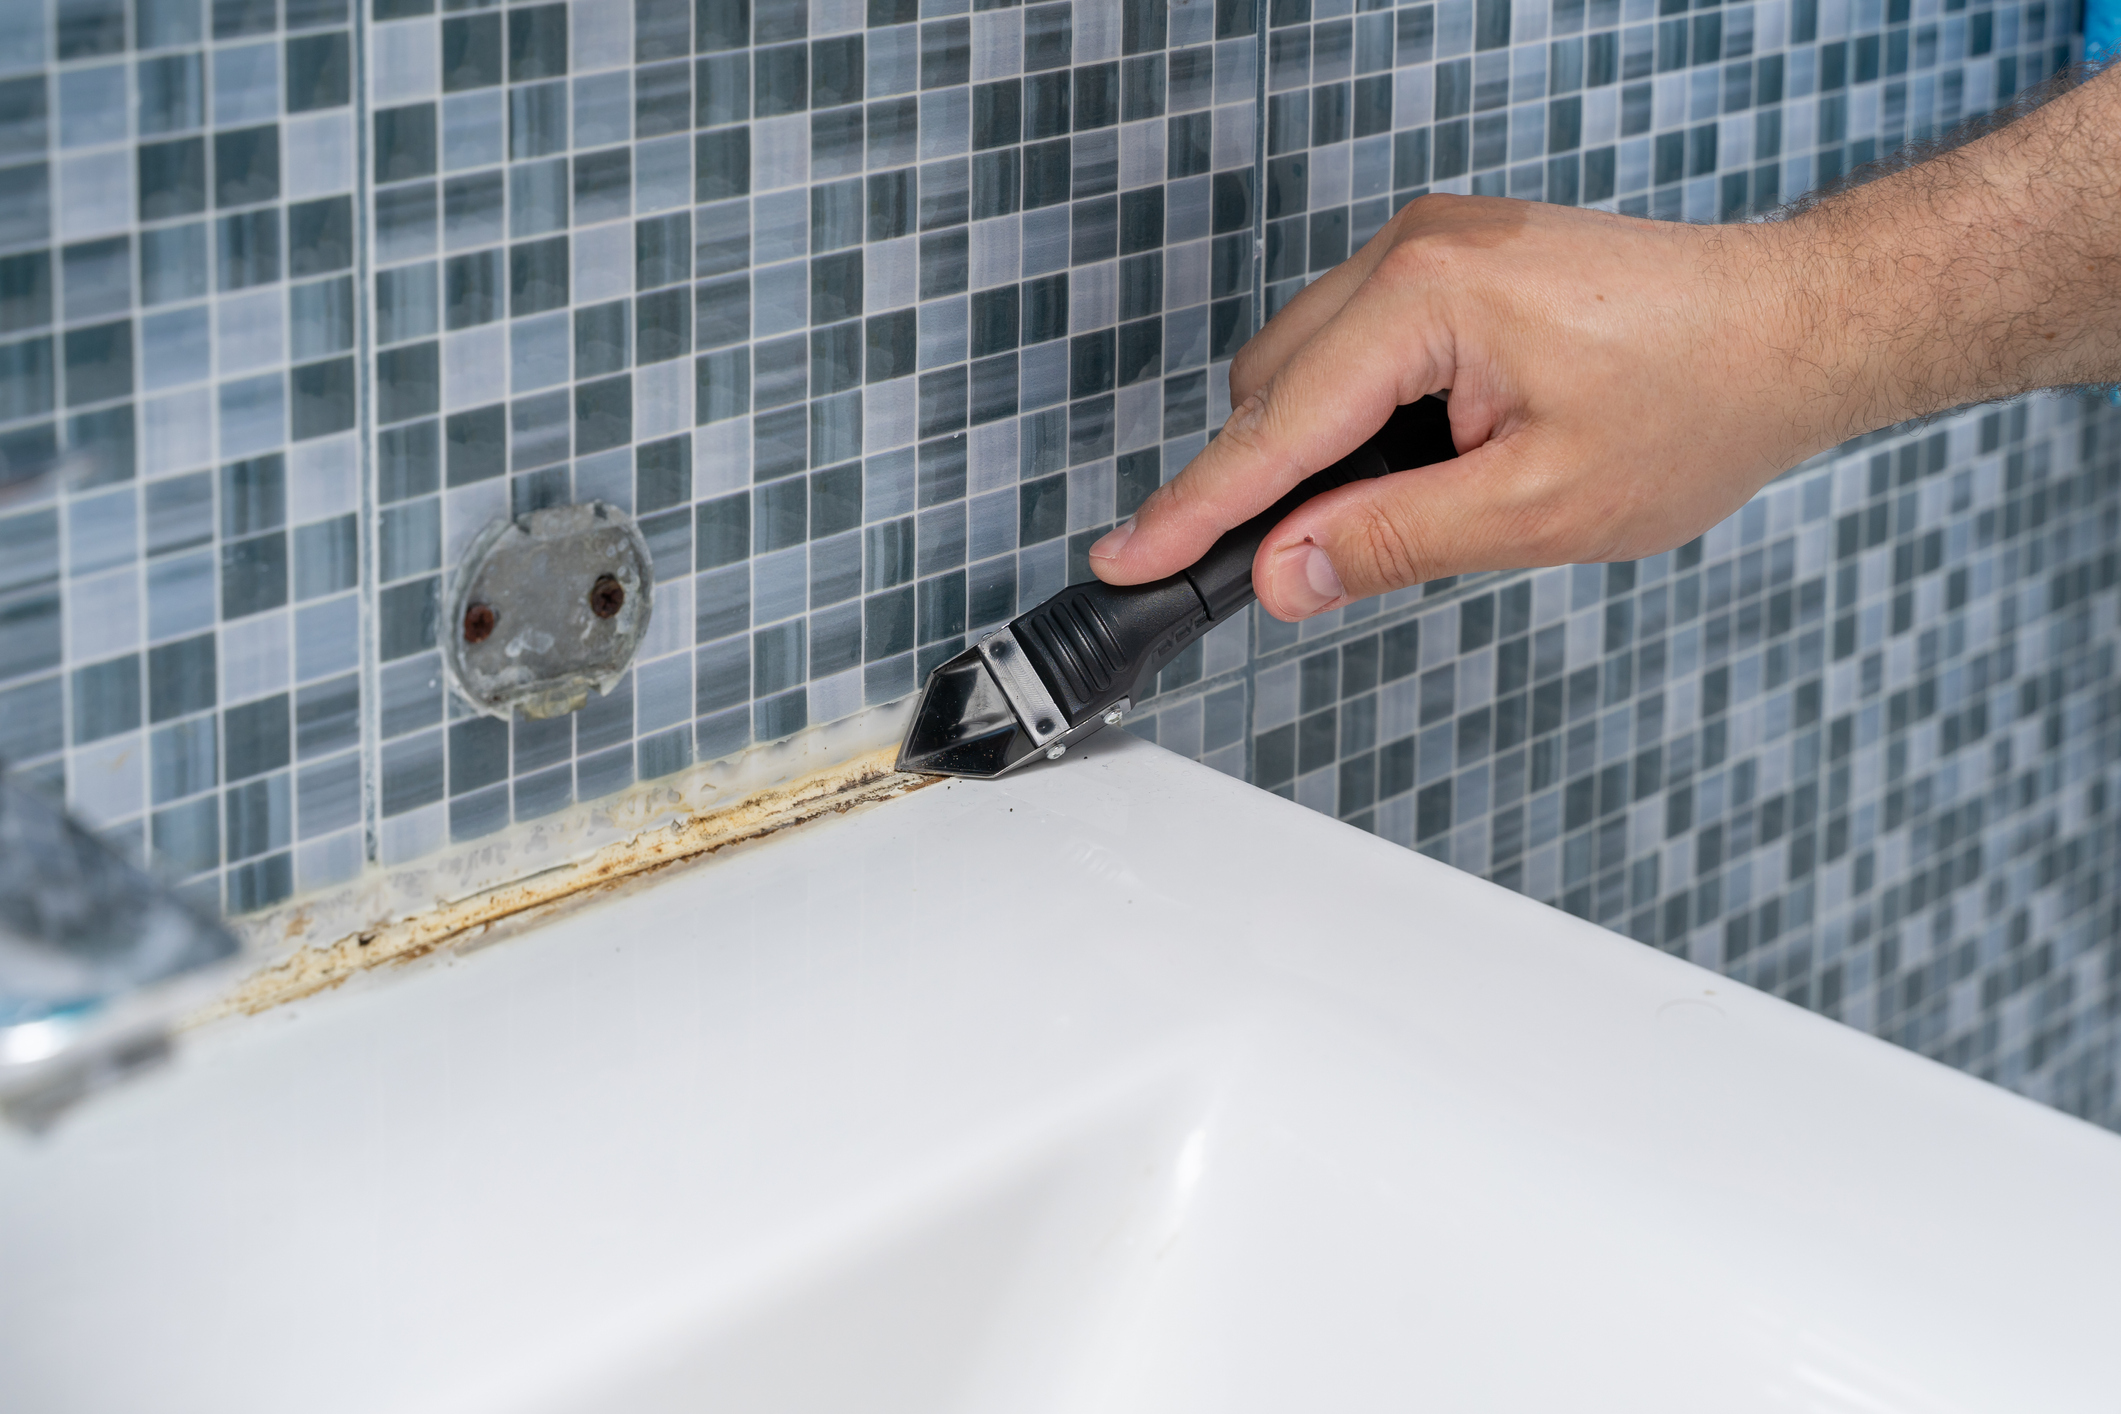
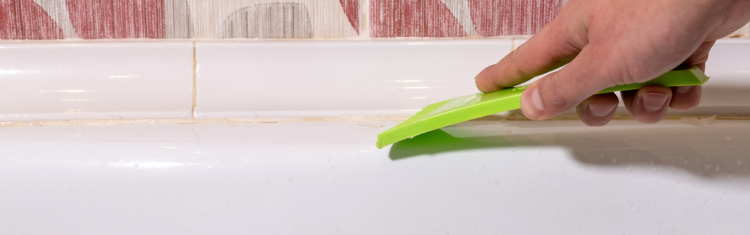
There are a few tools you can use to remove old bathroom sealant. Many people prefer to use a Stanley knife. This can be effective, but it’s not the safest option: you could cut yourself or scratch the appliance you’re resealing.
If you want to use a knife, here’s how you do it:
- Cut along the length of the silicone to separate it from the wall.
- Grab hold of a loose edge and peel it away as best you can. If you’re lucky, the silicone will come away in long, easy strips, with few leftover bits.
If you’d prefer to play it safe, you can use a sealant remover tool, which you can buy for under £10. These tools scrape off the old silicone without risk to your appliance. You can use them to smooth down the new sealant too.
Using Removal Gel
The tools described above are cheap and often effective, but they’re hard work. For a less tiring option, use a sealant removal gel. Again, these products aren’t too expensive: you can get a big cartridge of the stuff for less than £10.
To use the gel:
- Put the tube in a mastic gun and chop a bit off the end.
- Squeeze the gel into the old sealant.
- Wait. You should leave the gel for at least 2 hours, but it’s often better to wait at least 12, especially if the sealant is very old and worn.
You have two options when using sealant removal gel. Either apply the gel first first and leave the silicone to break down – this makes it much easier to scrape off – or scrape off the old sealant by hand first, and then use the gel to break down the stubborn bits that won’t come off.
Getting Rid of Any Leftover Bits

If there are any chunks of silicone that don’t come off, dab a little white spirit on an old cloth and rub it over the leftover bits until they dissolve. The alcohol makes the silicone less sticky, and therefore easier to wipe away. If there are still bits left over, you can pick them off with pliers or tweezers, or scrape them away using a toothbrush.
Once you’ve removed all the old sealant, use alcohol to clean the surface underneath. Next, combine bleach and water to kill off any mould underneath.
Cleaning the area thoroughly is particularly important if you’re removing sealant from a tiled wall. If you try to put the silicone on an unclean tile, bits of grime can stop it adhering properly to the surface. Because of this, water gets in behind, and this can cause problems with mould.
Wait until the surface is completely dry. Once this is done, you’re ready to apply the new silicone.
If you used removal gel to get rid of the old silicone, you should rub white spirit over the surface to get rid of the gel. If you don’t do this, the leftover gel will remove the new sealant.
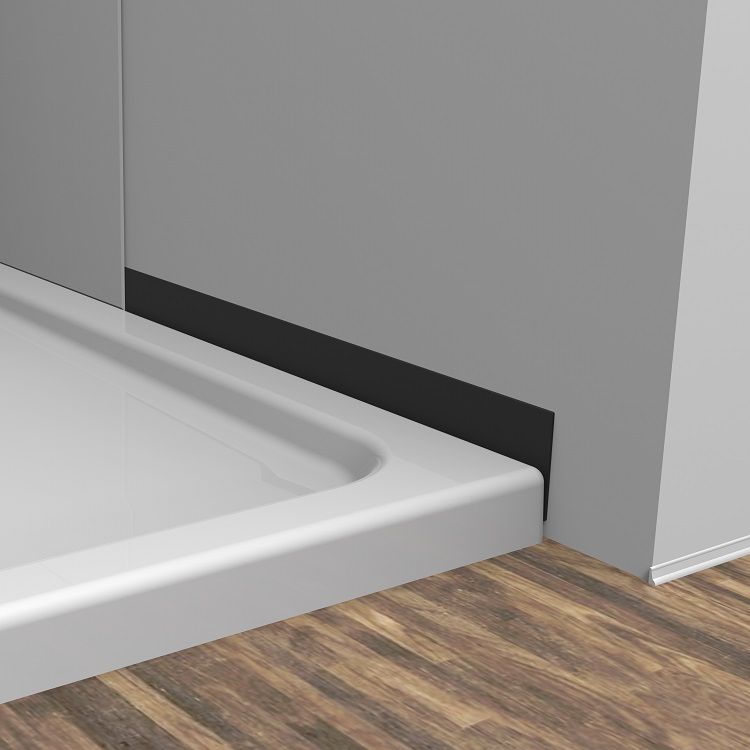
Applying New Bathroom Sealant
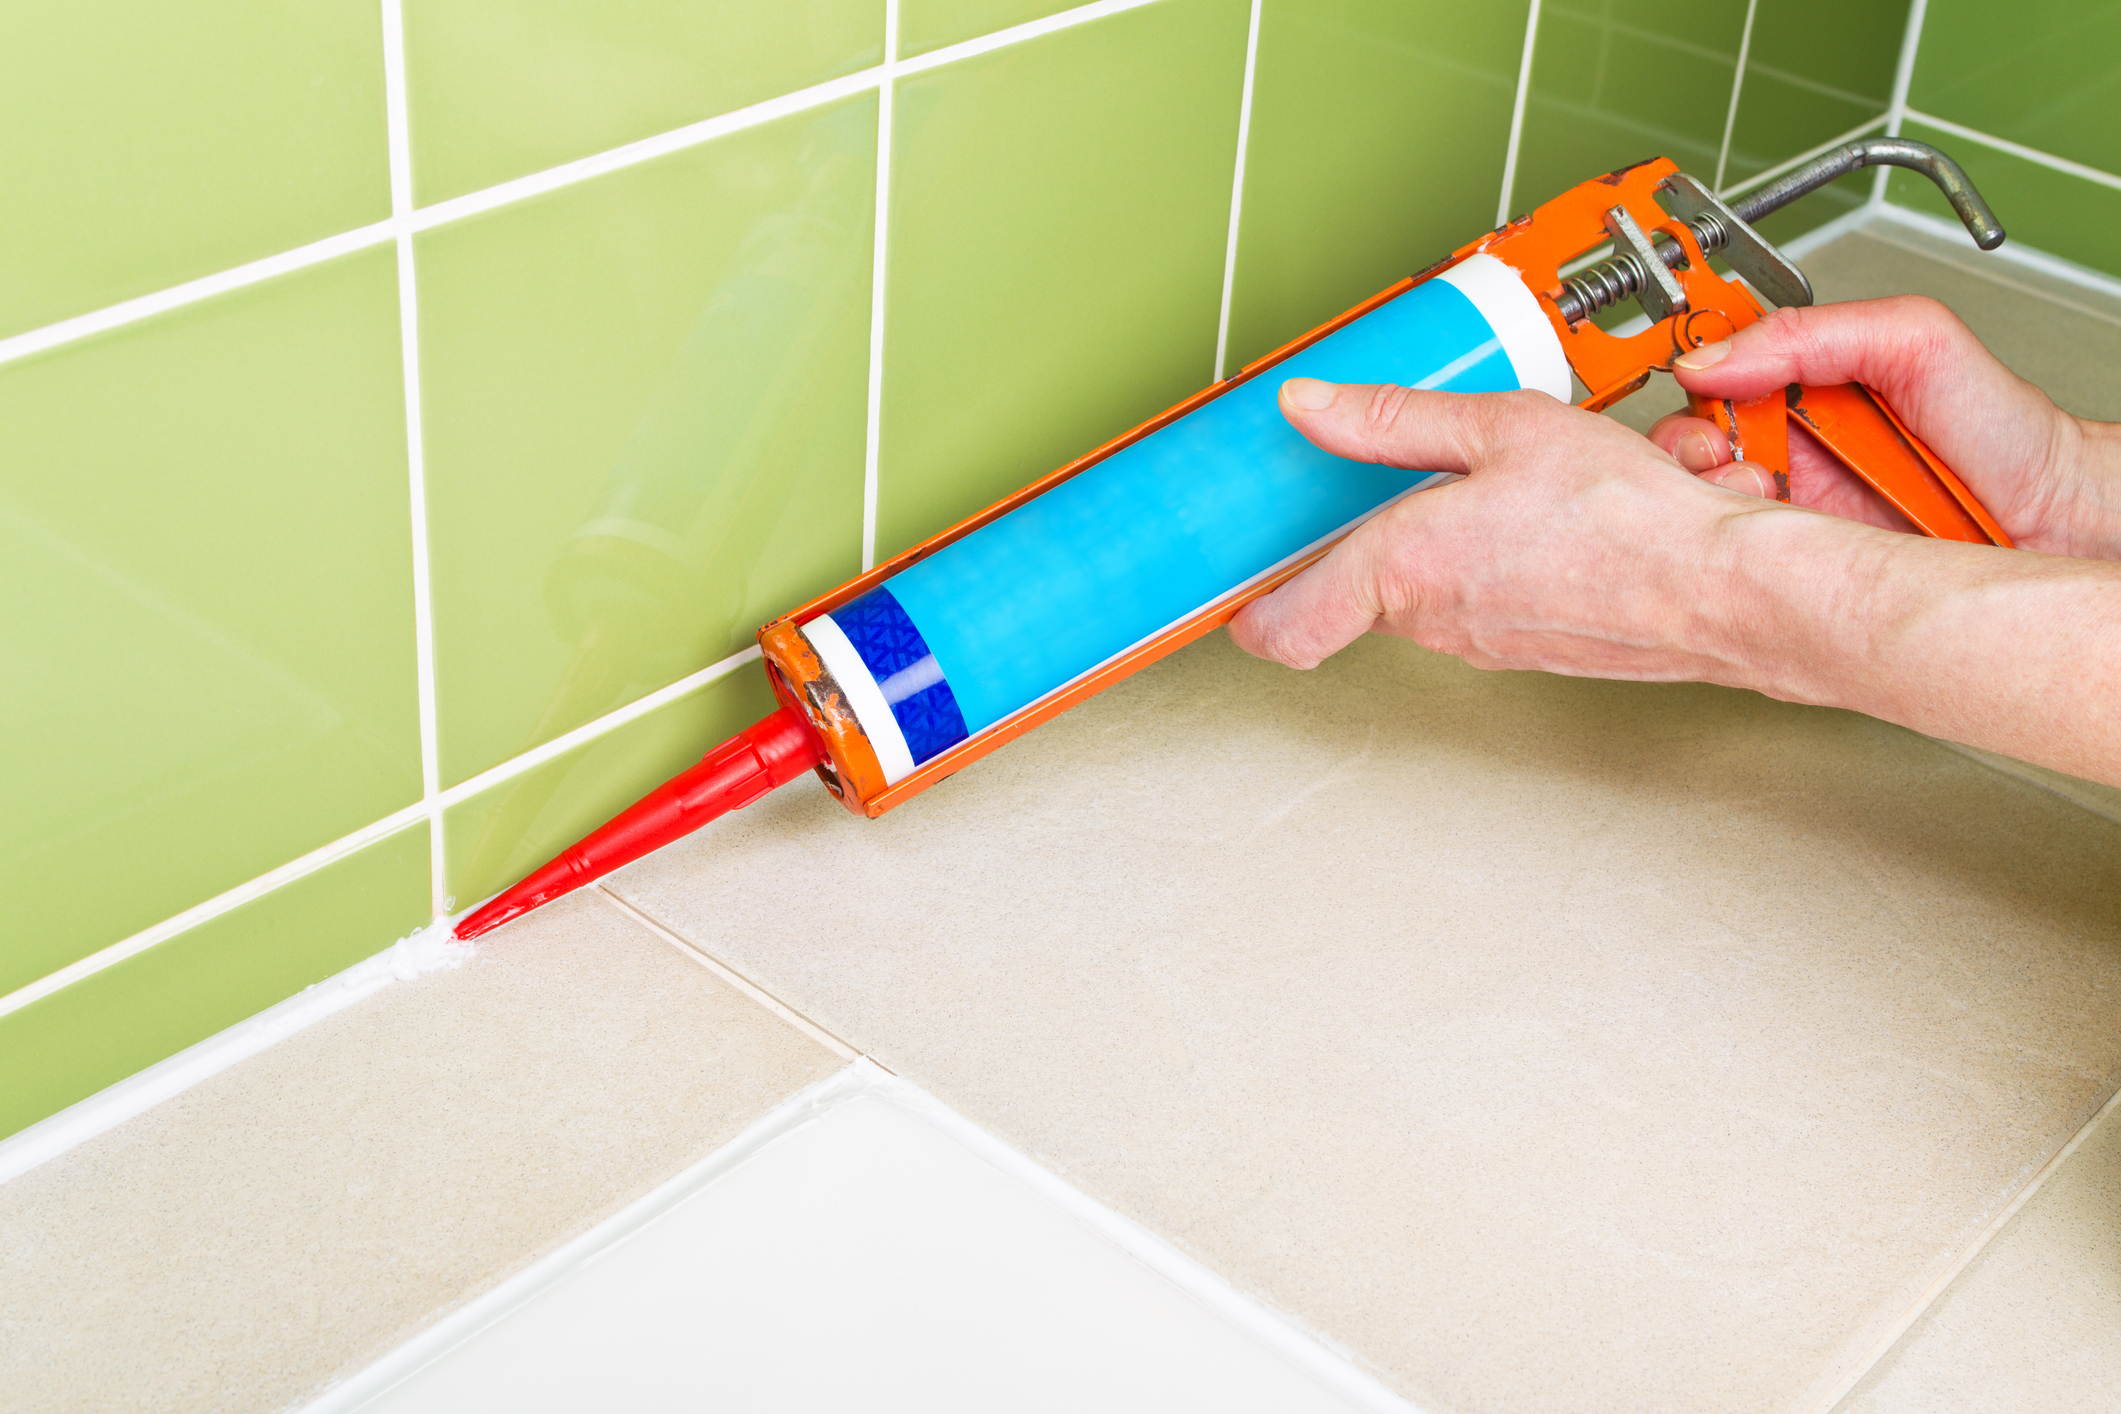
Now that you’ve removed the old sealant, cleaned the surface and left it to dry, you’re ready for the reseal. Whatever you’re resealing – a bathtub, sink or shower – the process is similar:
- Insert the sealant tube into the mastic gun and cut off the tip. It should be as wide as the gap between the appliance and the wall.
- Squeeze the silicone into the gap, wiping away the excess as you go.
- Make a solution using 50% washing up liquid and 50% water.
- Dip your finger into this solution and smooth out the silicone to create a smooth, concave finish.
Related Products
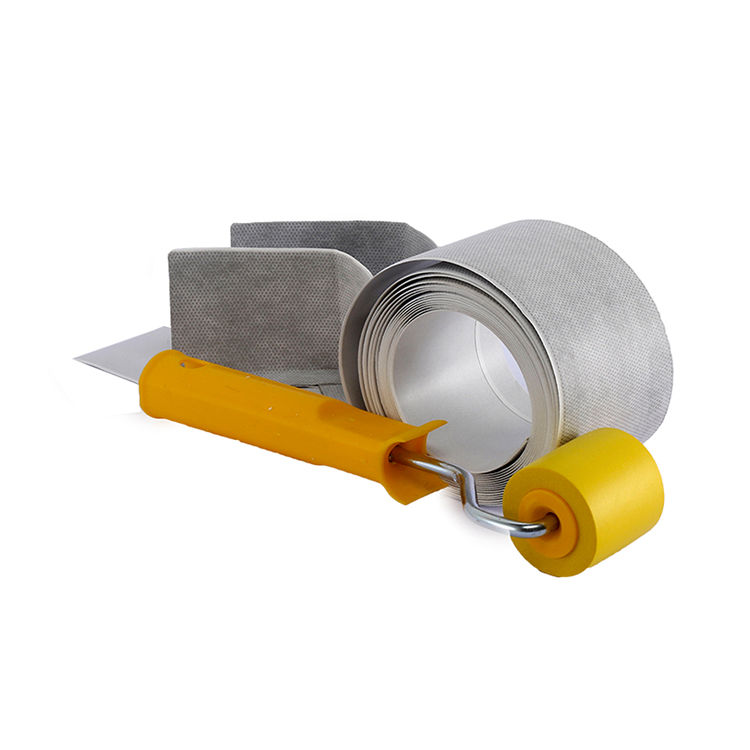
No More Leaks Bath & Shower Waterproof Sealing Kit