How to Change Your Bath Tap Washer
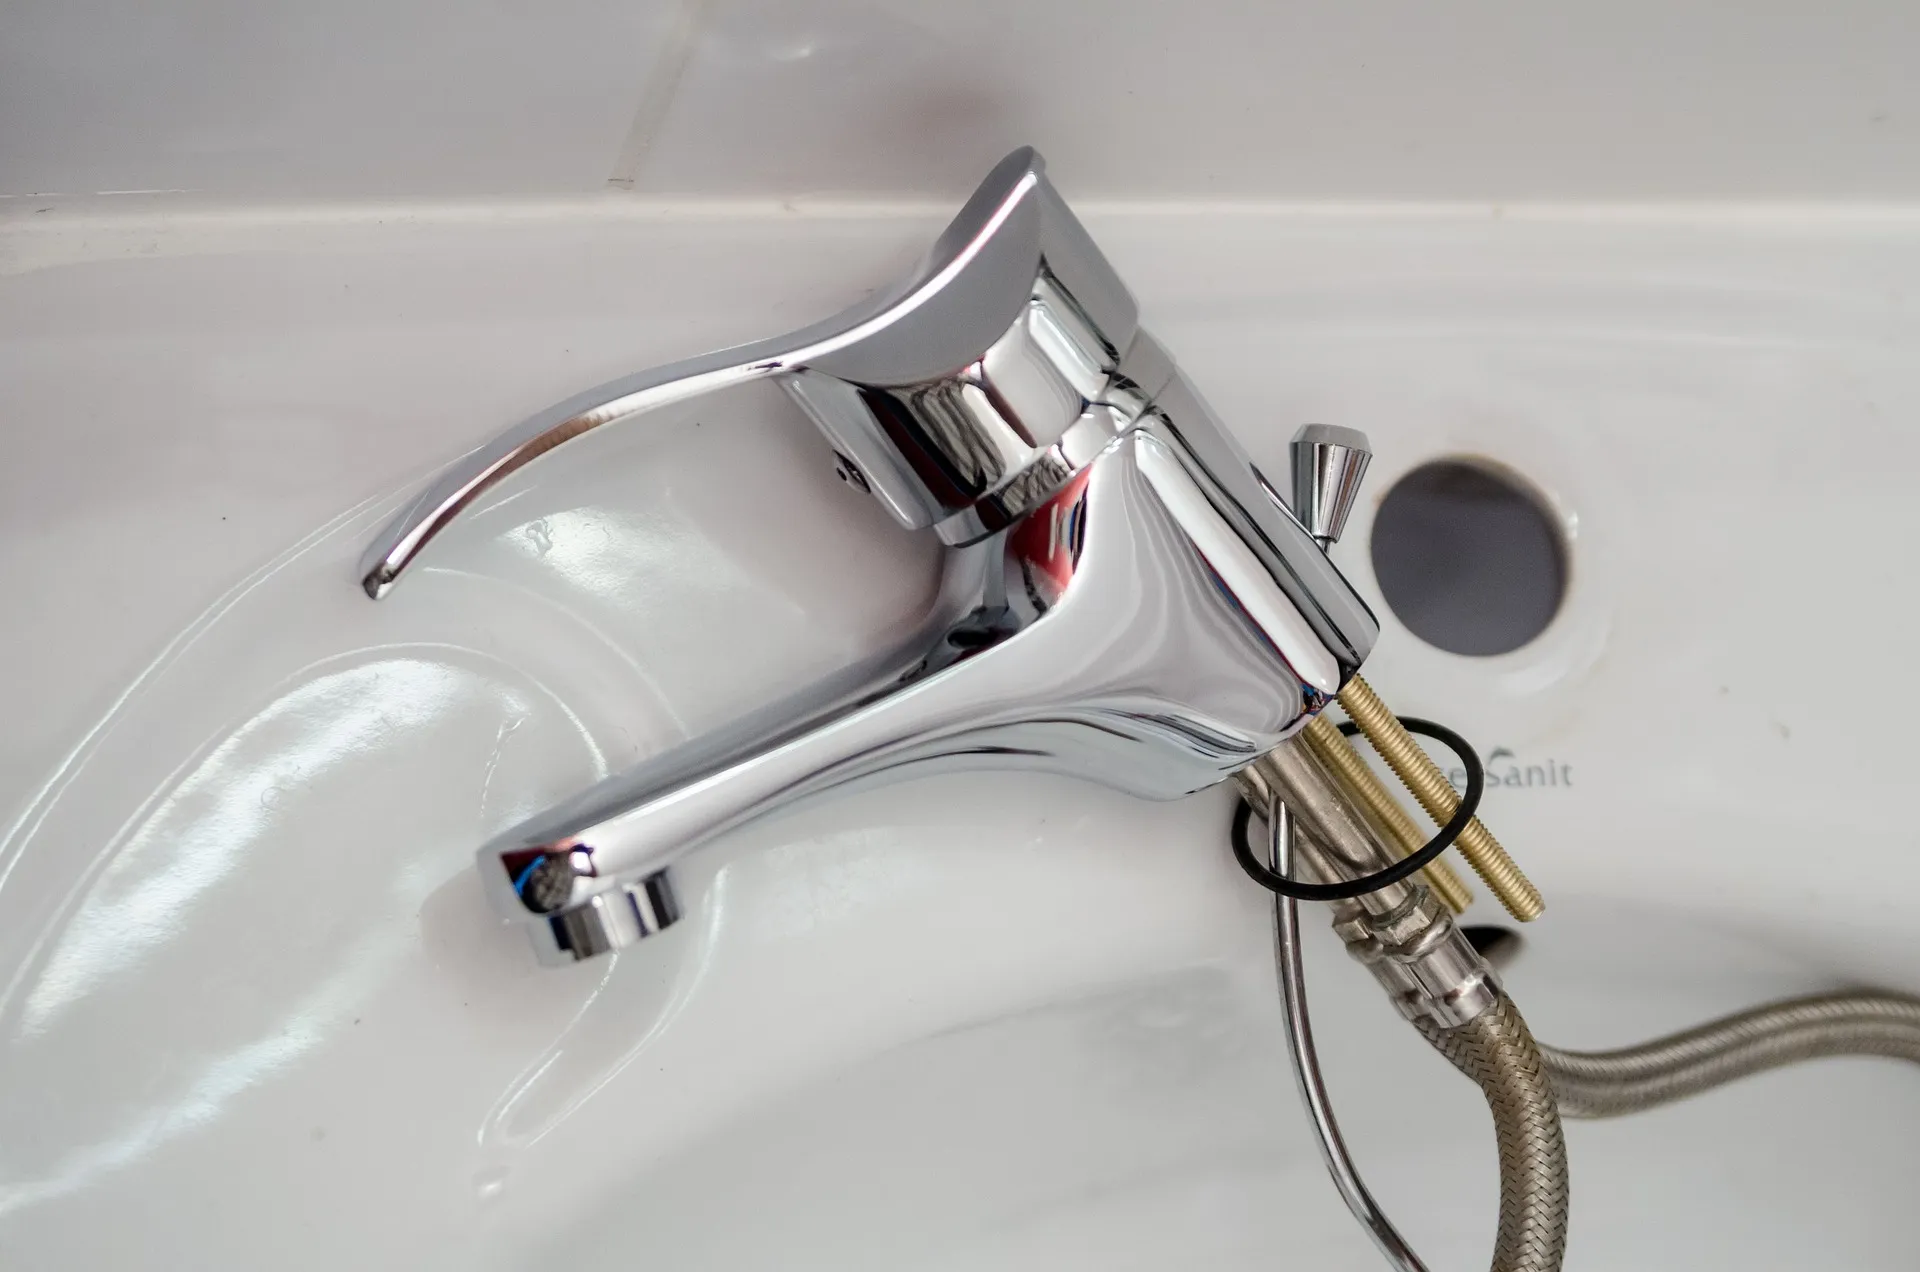
Are you plagued by an incessant drip… drip… drip… from one of your bath taps? Does it keep you awake at night and penetrate the tortured dreams? Do you fantasise about picking up a hammer, lurching into the bathroom and smashing the cursed tap to pieces until there’s nothing left but the faint, hollow memory of a drip……drip……DRIP.

If the answer to any of those questions is ‘yes’, then put down the hammer and pick up the spanner. This is a common problem with a very simple fix that anyone can manage, and all without the need to call in a plumber. All you need to do is replace your bath tap’s washer. If you don’t know what a washer is or how to even begin going about replacing one, read on below for some good old Sanctuary knowhow.
What is a Bath Tap Washer?
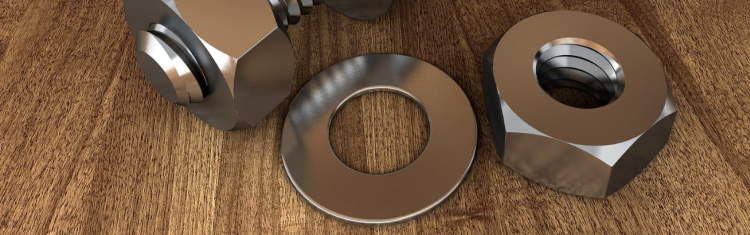
A bath tap washer, like any other tap washer, is a small, disc-shaped component found inside the base of your tap. Its job is basically just to stop water flowing through the tap’s spout when the handle is in the off position, hence why you get those drips (drip… drip… alright, we’ll stop now) when it isn’t working properly.
Without getting too technical, tap washers create a barrier between the seat of the tap and its spout. When the handle is turned on (or ‘open’), the washer is raised to allow water through. When the handle is turned to off (or ‘closed’), the washer lowers to form the barrier again. The more you turn the handle, the more the washer moves, increasing or decreasing the strength of the water flow.
What Are The Types of Bath Tap Washer?
Tap washers are mainly differentiated through their size and the material they’re constructed from. Different sizes of taps require differently sized washers, while the material is really dependent on the whim of the tap’s manufacturer. Washers need to be durable, flexible and, of course, highly resistant to water, which means they’re usually made from any one of the following:
- Nylon
- Vulcanised fibre
- Polythene
- Rubber
- Ceramic
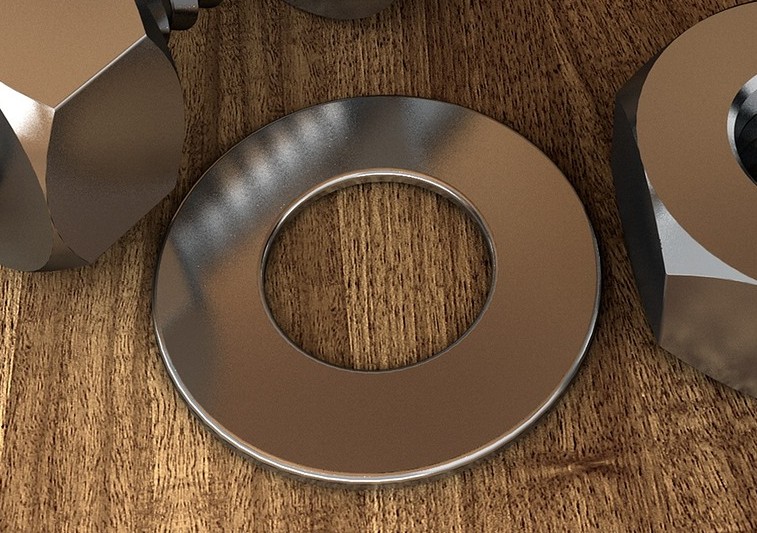
Nylon is the most common material used to make tap washers. Its cheap, lightweight and easily manufacturable, as well as sturdy enough to resist the wear and tear of everyday use. The other materials all have their pros and cons, but they all serve the same purpose. They do all eventually degrade, which is why they need replacing every so often. As for size, tap washers can range from 9mm to 40mm in diameter, depending on the build of the tap itself.
When you replace your own bath tap washer, just make sure you try to match up the material and the size with your old one. The size is obviously crucial (it won’t fit otherwise), but you could possibly get away with a different material if caught in a pinch. However, it’s always best to keep things as closed to the tap manufacturer’s intentions as possible. You can either contact the manufacturer themselves if you’re not sure which washer to use, or take the old washer down to a hardware shop to get it matched up by a professional.
What Size Washer Do I Need for My Bath Tap?
As mentioned, bath tap washers come in a variety of sizes. This is because bath taps themselves vary greatly in size and design, so there’s really no set answer to the question of washer size. Bath tap washers will often be in the 20mm, or ¾”, sort of range, as the taps themselves tend to use ¾” British standard pipe (BSP) inlets. This is not a universal rule, however, and the easiest way to determine your bath tap’s washer size is simply to remove it and measure it yourself.
How To Change the Washer On A Bath Tap
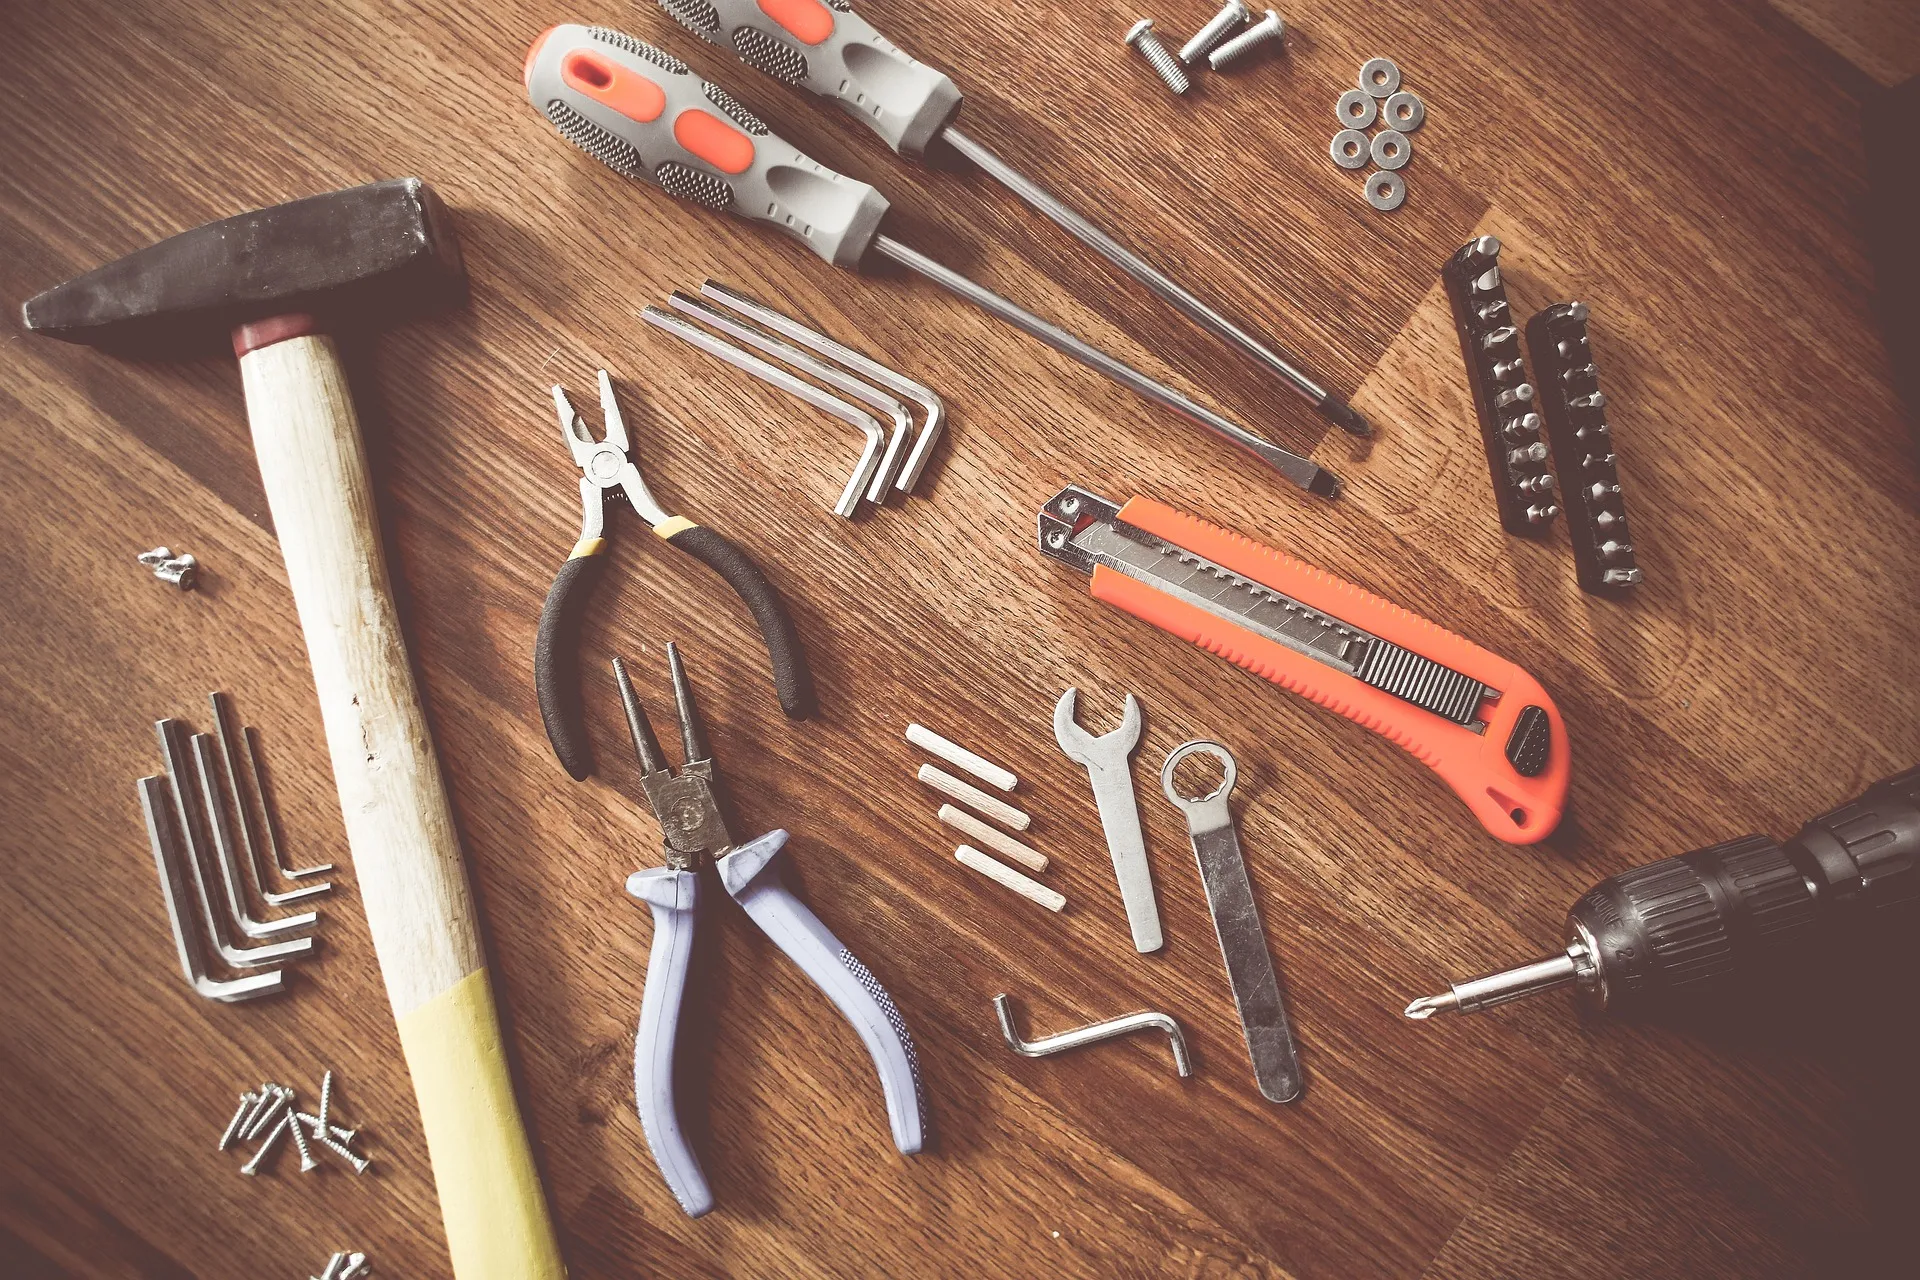
Even if you don’t consider yourself a DIY-savvy individual, changing a tap washer is well within your capabilities. All you need is a few basic tools and a spare half hour or so, and our simple, step-by-step guide will see you through.
What Equipment Do I Need to Change A Bath Tap Washer?
- A replacement washer (if you don’t know the type of washer your tap uses, you’ll have to either contact the tap’s manufacturer or check the existing washer once you’ve disassembled your tap – more on that below!)
- An adjustable spanner or a set of differently sized spanners
- A set of flat tip or crosshead screwdrivers, depending on your tap’s design
- penetrating oil
- Your bath’s plug or waste
- A couple of old cloths or towels to deal with any water spillage
Once you’ve assembled your gear, it’s time to roll up your sleeves and get stuck in.
Step 1: Shut Off Your Water Supply and Block Up Your Drain

The first thing to do when undertaking any kind of tap maintenance is to make sure you don’t accidentally turn your bathroom into a swimming pool. You’ll need to cut off the water supply to the tap before disassembling it. This can often be done via an isolation valve located beneath the tap itself, which can be shifted into the off position using a flathead screwdriver.
Not all taps have their own isolation valve, so you might have to just switch off your main water supply instead. If you’re working on a hot water or mixer tap, make sure to turn your boiler or immersion heater off as well. Once you’ve isolated the tap from its water supply, turn the handle into the on position to let out any residual water. When the tap runs dry, you’re all good to go.
Well, almost. Before you do anything else, make sure your bath drain’s waste/stopper/plug is firmly in place. Taps contain various small screws and components, and the last thing you want to do is drop any of them down the plughole.
Step 2: Remove Your Bath Tap’s Cover/Handle
We’ll begin our disassembly by taking off the tap’s handle to expose its juicy inner workings. All taps feature some kind of release screw, which allows you to remove the handle and access the valve housed within. Bath pillar taps, for example, often include a cap on top of the handle that can be pried off with a flathead screwdriver, revealing the screw beneath.
Bath mixer taps can have these caps as well, although single-lever models will more likely have their screws located at the front beneath the handle. Certain mixer taps even have their screw located inside the handle; the tip of which can be removed to reveal the screw. Modern taps tend to conceal their screws to create a smooth, seamless look. If you can’t locate the screw, it’s worth contacting the tap’s manufacturer for assistance.
When you’ve found the screw, you can remove it using the appropriate screwdriver. You can then lift the handle off, revealing the valve beneath.
Remember: make life easier for yourself by laying out all the components you remove from your tap in a chronological row. When it comes to reassembly, you can simply work backwards along the row.
Step 3: Remove the Tap’s Valve/Main Insert
Once the handle is off, you can then go about removing the valve itself. It will usually be secured by a nut, which can be loosened with a few turns of a spanner then twisted off by hand. However, nuts can sometimes seize up if not removed for long periods. If this is the case, give it a couple of squirts of penetrative oil to loosen it up, then try twisting it with the spanner again.
Once the nut is off, you should be able to gently pull the valve free from tap’s main body.
Step 4: Replace the Washer
If you examine your newly extracted tap valve, you’ll find the washer fixed into a slot at the very bottom. Washers can sometimes just slide straight out, but you might find that it’s held in place by a small screw or nut. If this is the case, remove the fixing with a screwdriver or small spanner and carefully take the washer out.
If you’ve never done this before, this is likely the first time you’re actually seeing your bath tap’s washer. If you weren’t sure which type of washer you needed, you can now examine the current one and head out to pick up a matching model. Once you have your new washer ready, pop it into the slot you took the old one from and replace any screws or nuts.
Step 5: Reassemble the Tap and Test It Out
Now you just need to put your tap back together by doing everything you just did again, except this time in reverse. When this is done, turn your water back on and test out the tap to make sure everything is running smoothly. If the washer was indeed the problem, that damnable dripping that was devouring your sanity will now be a thing of the past.
So, there you have it! Your bath tap washer is replaced, the drip-drip-dripping is no more, and you’ve just saved yourself eighty-odd quid on plumbing fees. Not a bad day’s work, eh? Better yet, this technique can be applied to any tap in the home, provided it uses a washer. From basin tap to bath shower mixer tap washer replacement, you’ve got the knowledge to handle it all.
Just remember, not all taps actually contain washers. A lot of modern taps will use ceramic cartridges instead of washers. Still, the process for replacing these cartridges is essentially the same. The tap is still taken apart and put back together in the same manner, and the only difference is that you’re replacing a cartridge instead of a washer. We hope this article has helped, and don’t forget to browse the rest of our bathroom guides for more expert guidance and advice!
