How to Fit a Bathroom Lock
With the right know-how, fitting a bathroom lock is a straightforward bit of DIY. Make sure you take your time and follow these instructions clearly.
Tools You Will Need
To change a bathroom lock, you will need a:
- Chisel
- Drill
- Pencil
- Tape measure
- Ruler
- Screwdriver
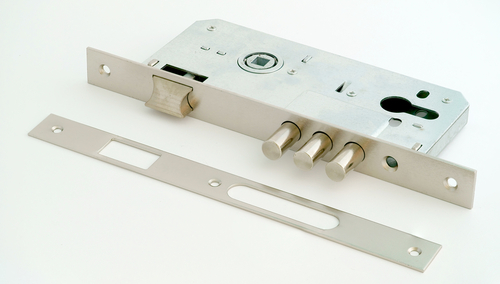
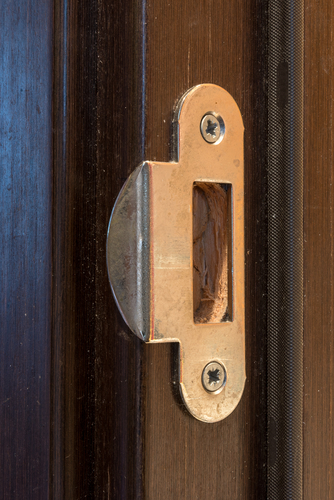
- A lock mechanism. The metal strip next to it is the latch plate
The Parts of a Lock
There are several parts to a lock:
- The lock mechanism.
- The latch plate: this is the metal plate that goes over the lock mechanism on the edge of the door. It covers the door latch. The latch plate is screwed in place to keep the lock mechanism where it needs to be.
- The door handle.
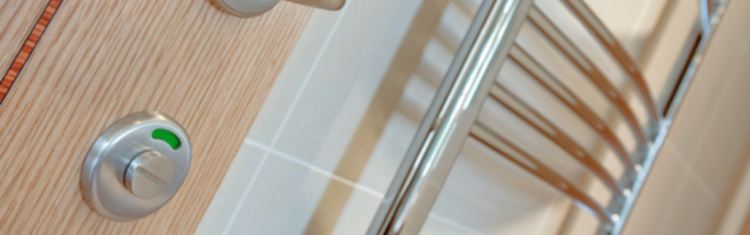
- The thumb-turn: this is what you twist to lock the door.
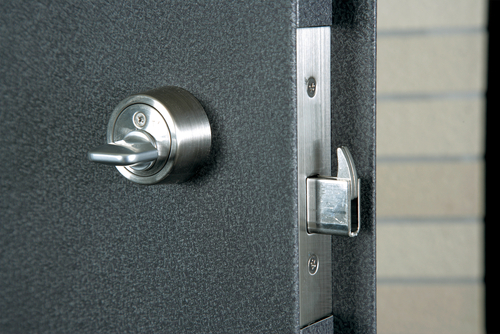
- The strike plate: a piece of metal that fits against the doorjamb, with the holes for the bolt of the door and the latch to slide into.
Fitting the Bathroom Lock
Step 1:
Hold the edge of the lock mechanism against the edge of the door. Use a pencil to mark the edge of the door at the top and bottom of the lock mechanism. Draw a vertical line between those two marks, down the centre of the edge of the door.
Step 2:
Drill a series of holes into the edge of the door along the vertical line you just made. These holes should be close enough together that they overlap, and they should as deep as the lock mechanism is wide. This will be the hole into which the lock slides.
Step 3:
Use a chisel to round out the edges of your holes, creating one big hole. Clear out the wood shavings, then slide the lock into the hole.
Step 4:
Place the latch plate over the door handle and draw around it. Then take off the latch plate and remove the lock mechanism.
Step 5:
Staying within the lines you just created by drawing around the latch plate, chisel away a small layer of the edge of the door. Do this gradually and slowly. The hole should only be deep enough for the latch plate to sit flush with the edge of the door – which isn’t very deep.
Step 6:
Now that you’ve made the hole for the mechanism and latch plate, you need to make holes for the handle and thumb-turn. To do this, you need to work out where the spindles will go.
Hold the lock mechanism against the face of the door, over the same area you made the hole for the mechanism in steps 2 and 3. There will be two holes in the lock mechanism. Once you’re holding it in the right position, push a pencil through the holes in the lock to mark the space where the holes need to be drilled on the door.
Step 7:
Drill two holes through the face of the door where you’ve made the marks. Remove any wood shavings.
Step 8:
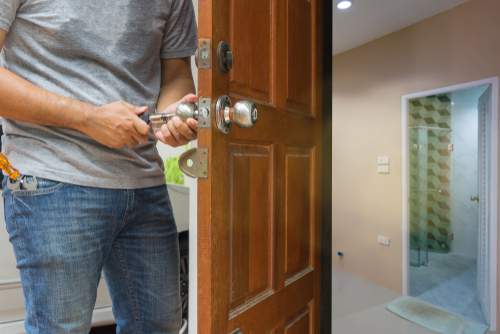
Now slide the lock mechanism into the hole, place the latch plate over it and screw into place. Next, place the handle and thumb-turn through the holes and secure them with screws.
Fitting the Strike Plate
That’s the bathroom lock sorted. Now to fitting the strike plate, which is the metal plate that fits into the doorjamb.
Step 9:
Rotate the thumb-turn to the “locked” position (so that the bolt sticks out), and then push the door to.
With the door pressed up against the jamb, mark the doorjamb at four points:
- The top of the lock bolt
- The bottom of the lock bolt
- The top of the door latch
- The bottom of the door latch
Move the door away from the doorjamb. Use a ruler to make these four markings into clear horizontal lines. Draw a vertical line from the top mark to the bottom, down the centre.
There are two parts to a strike plate: the inner section, which is where the whole goes for the door latch and the outer part, where the metal plate that gets affixed to the doorjamb.
Use these markings to position the strike plate: the top of the inner part of the strike plate should line up with the top horizontal mark you made on the doorjamb, whereas the bottom part of the inner bit of the strike plate should line up with the lowest horizontal mark.
Draw around the outer and inner parts of the strike plate, so you have two outlines sketched on the doorjamb.
Step 10:
Sticking within the outline of the inner part of the strike plate, drill a series of holes along the vertical line you drew in step 9. These holes should be spaced closely together, like in step 2. Once you have drilled the holes, round it all off with a chisel.
Next, chisel out a small hole for the outer part of the strike plate. As in step 5, this only needs to be deep enough for the strike plate to sit flush with the doorjamb.
Step 11:
Position the strike plate over the holes you created it and secure it with the screws.
And that is it. You are all done fitting your bathroom lock.
