How to Drill Bath Tap Holes
If you’ve just splashed out on a brand-new bathtub, you might be wondering where exactly you’re meant to put the taps. Not all baths are supplied with predrilled tap holes, which means they require a bit of work before you can equip them with any deck-mounted taps.
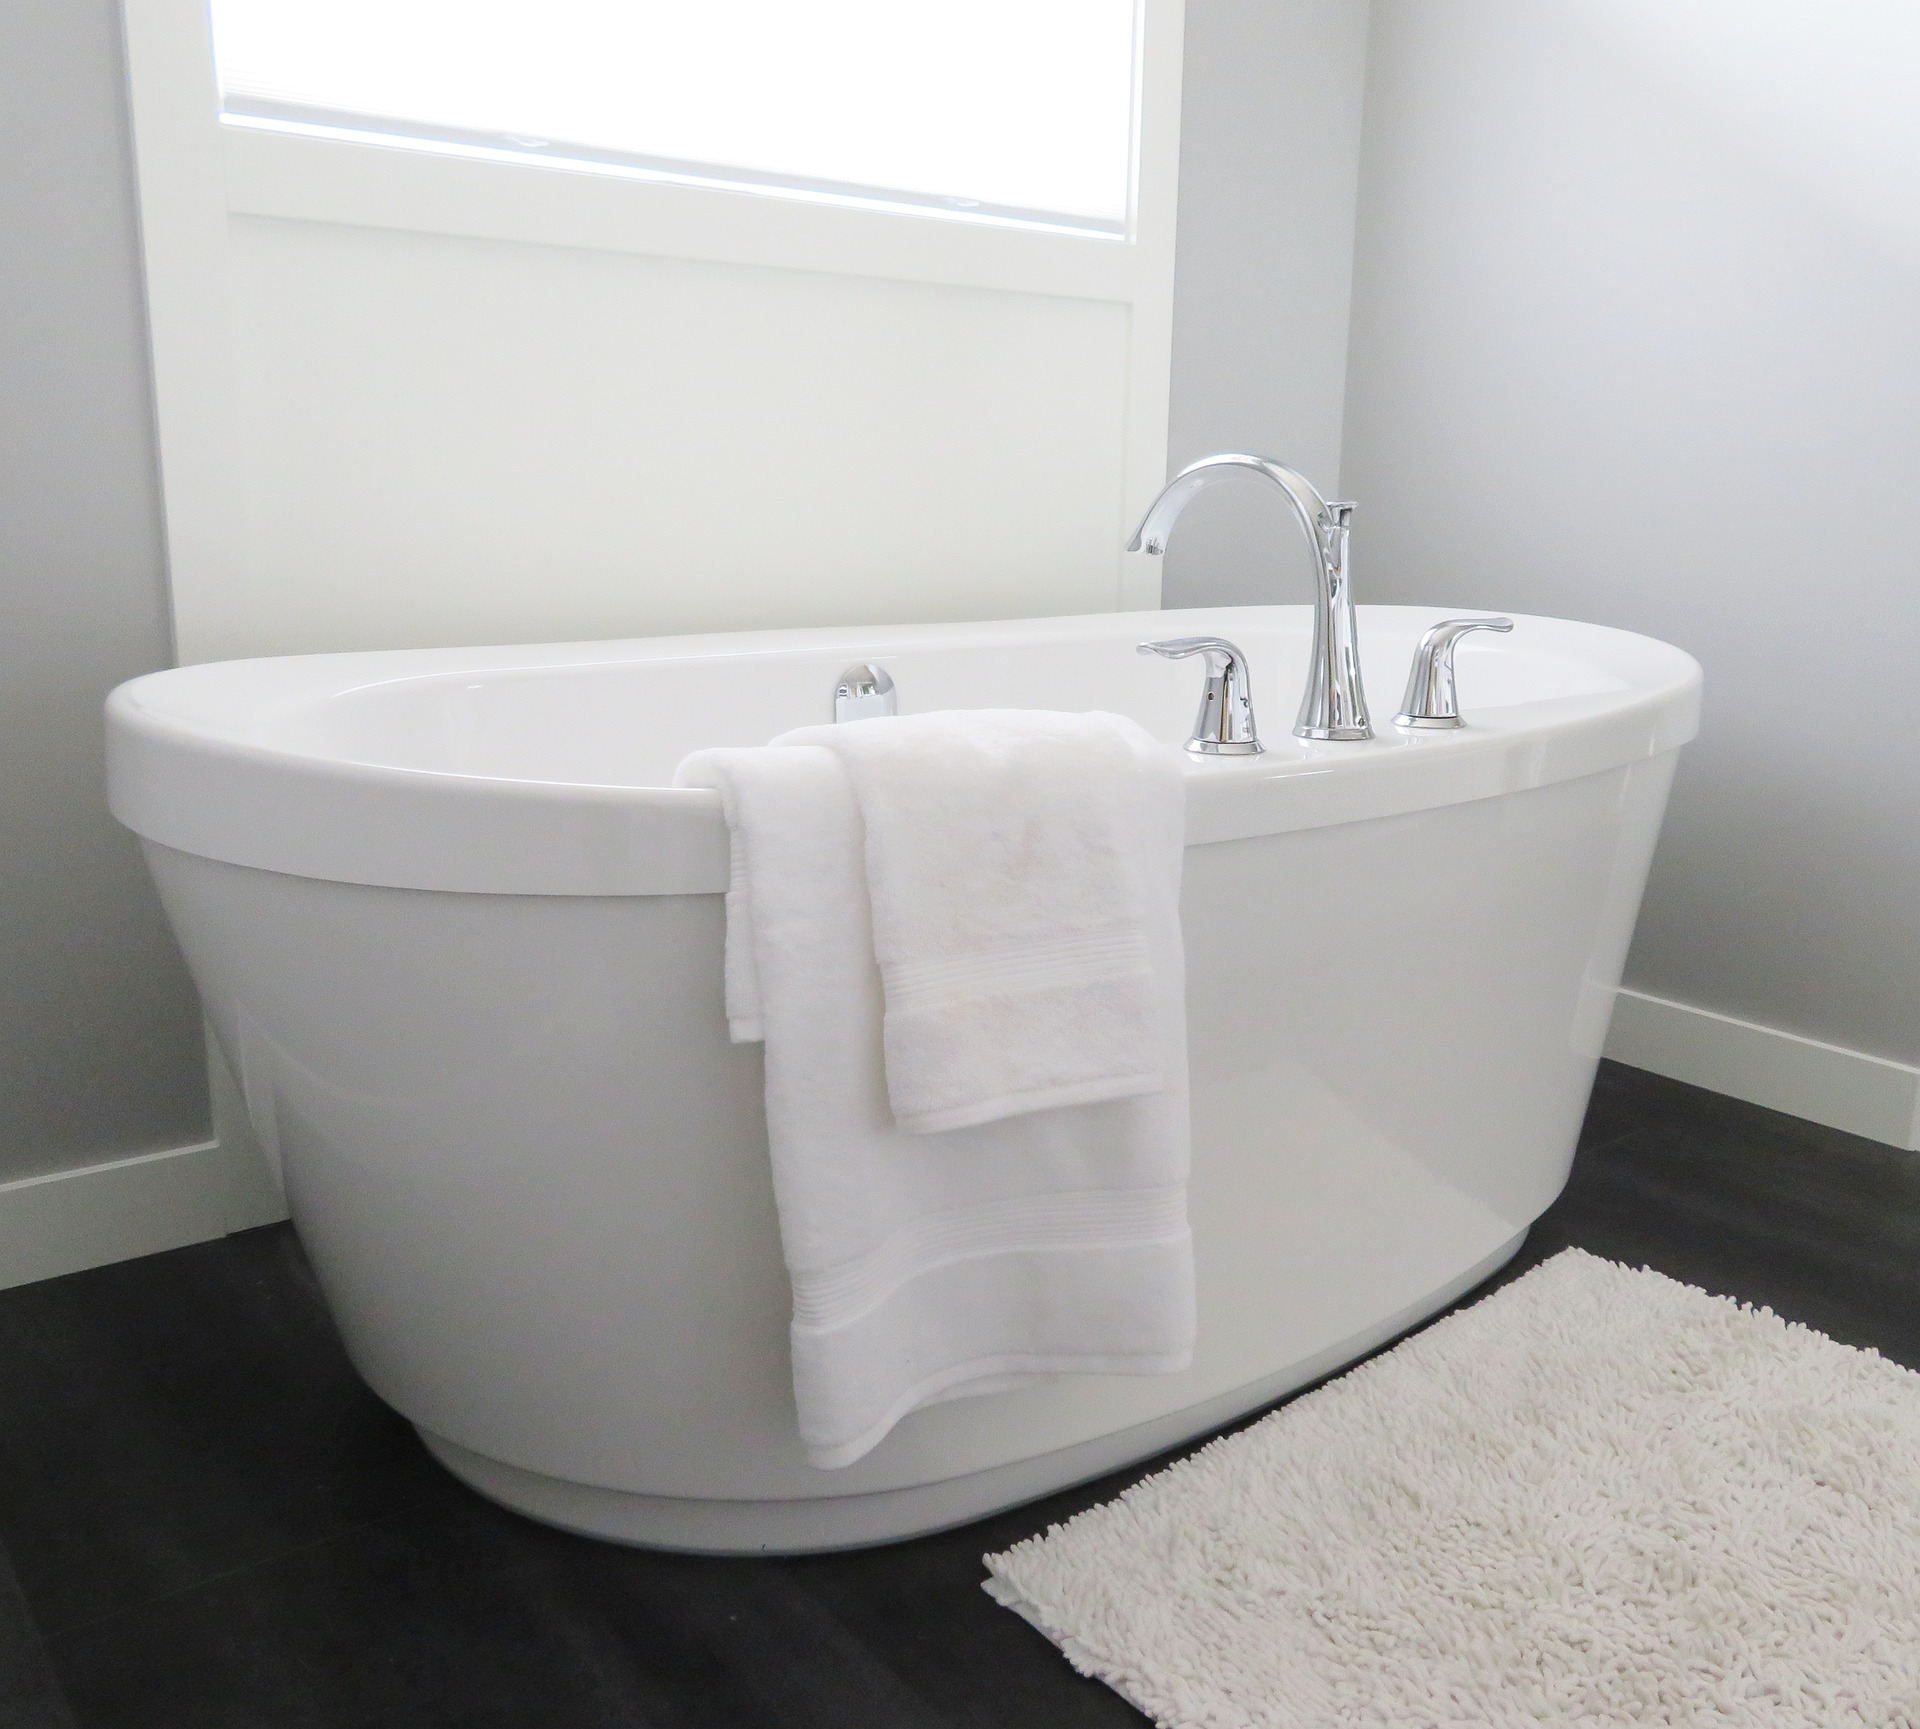
Obviously, if you’re going for a freestanding bath tap, a wall-mounted bath tap or an overflow filler, you won’t need to punch any tap holes into your bath itself. However, if it’s pillar or mixer taps you’re looking at, then we’ll need to get drilling.
Can I Drill Bath Tap Holes Myself?
Indeed! While the thought of puncturing precise holes into solid acrylic might sound a bit daunting, you don’t need really need to be a dashing DIY hotshot to pull it off. Many suppliers and manufacturers will be happy to drill the holes for you when you purchase the bath, and you can always hire a plumber to do so after the fact, but these options will incur a considerable additional expense. So, why not give it a go yourself?
What Tools Do I Need For Drilling Bath Tap Holes?
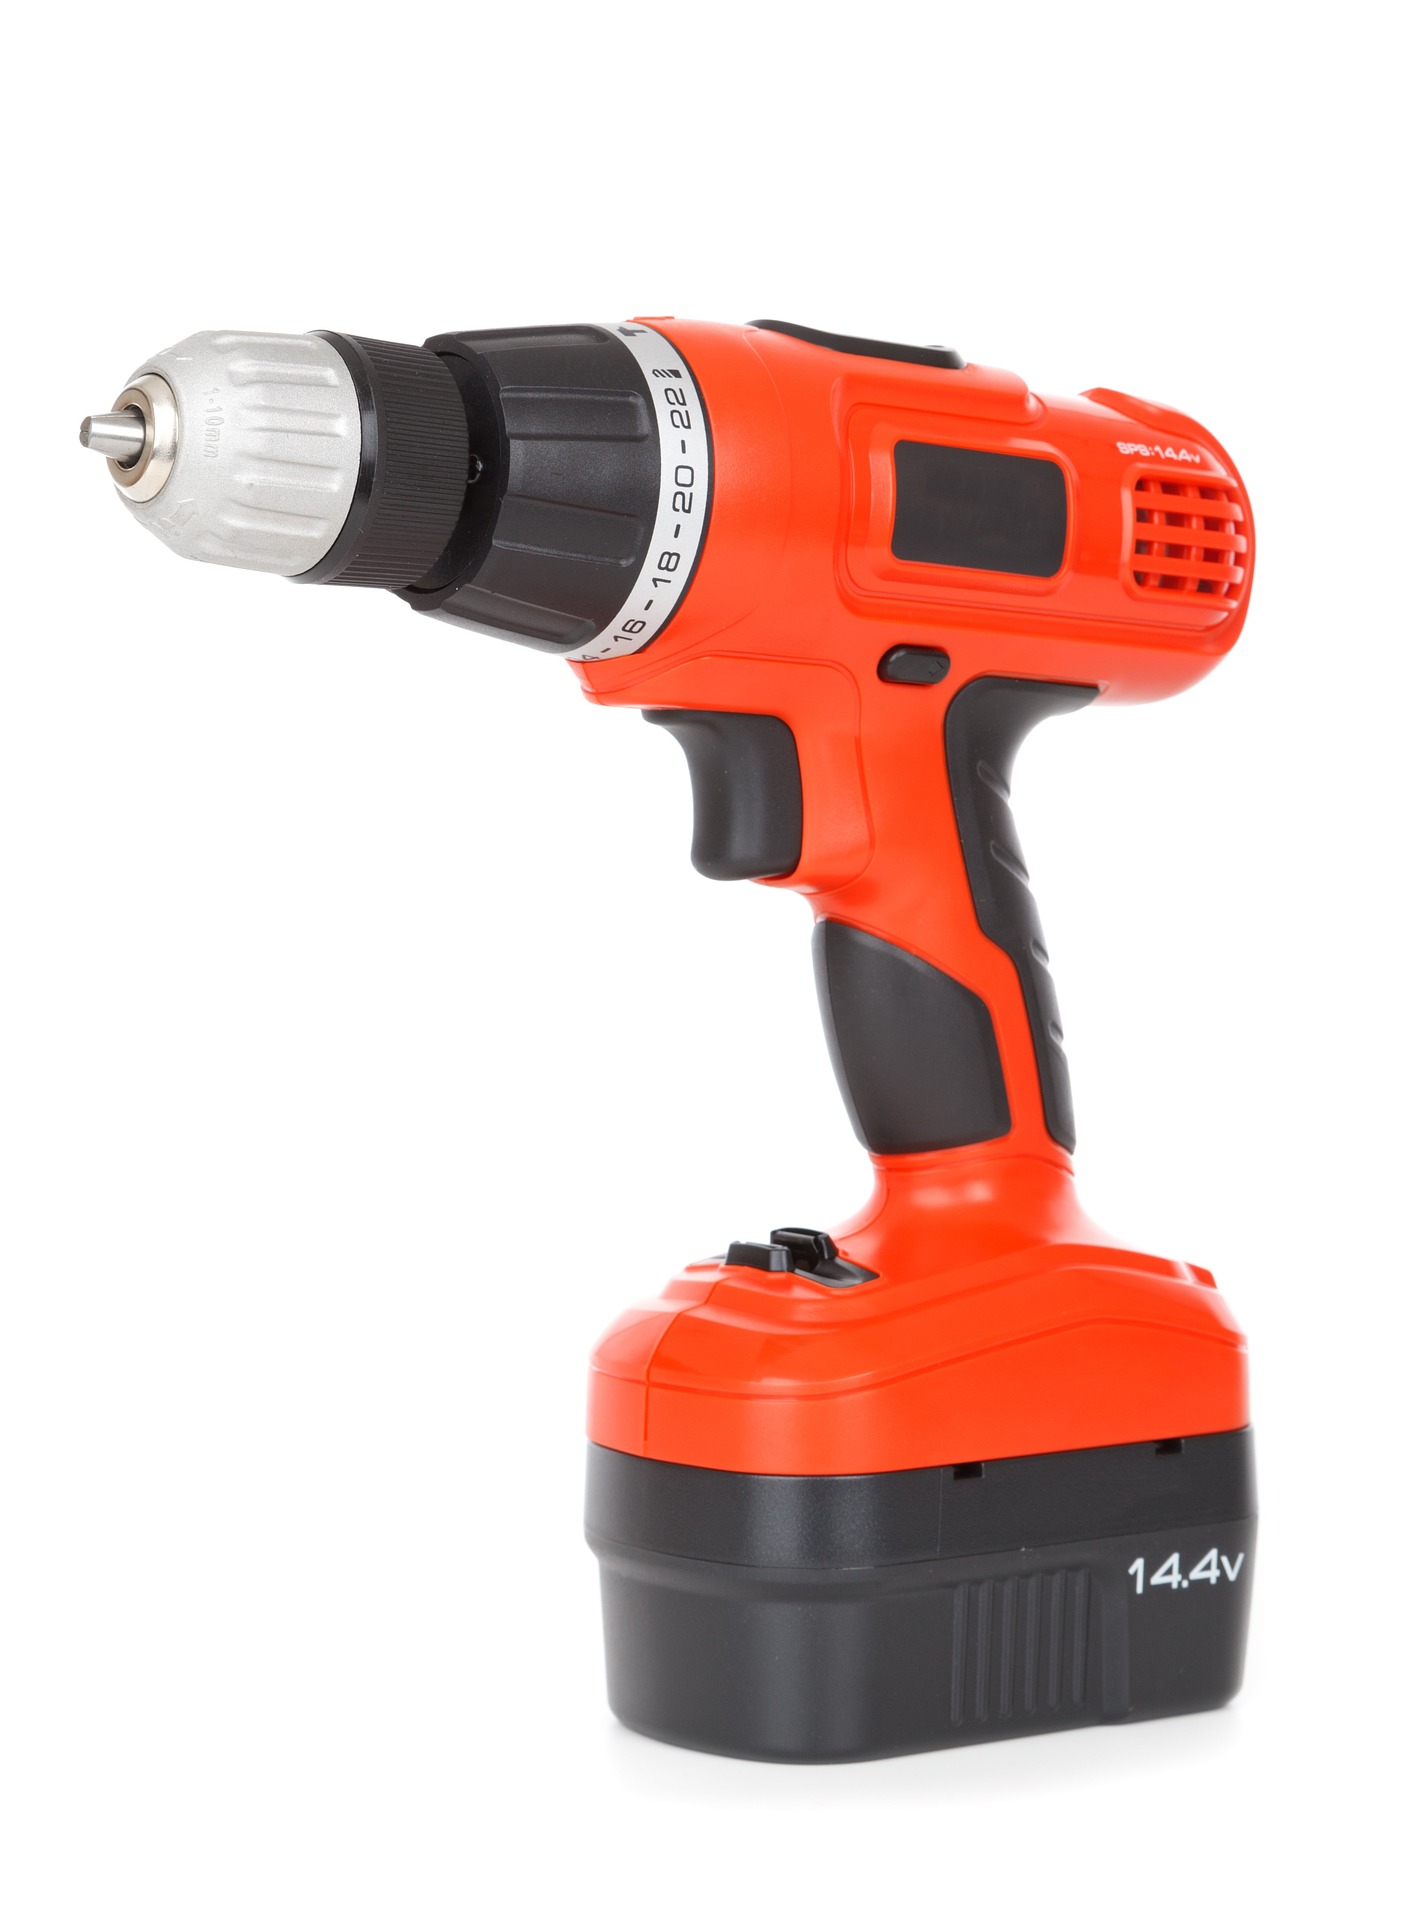
As with any DIY project, you’re only as good as the equipment you use. The list of tools required for tap hole drilling is pretty succinct, and you’ll probably have some of it laying around already if you’ve dabbled in DIY before. This is what you’ll need:
- A Power drill
- A 1/8-inch drill bit
- A hole saw drill bit – the size depends on the diameter of the taps you’re fitting (you might want to choose a drill bit that’s a few millimetres bigger than the tap you’ll be installing to ensure a good fit, but always consult the tap’s instructions or ask the manufacturer first)
- Masking tape
- A pen or pencil
- A tape measure
- A ruler
- Safety goggles
- Safety gloves
And that’s it! Most of this stuff can be picked up reasonably inexpensively. Furthermore, you’ll be able to use it again and again for any future projects if you catch the DIY bug.
How Many Bath Tap Holes Do I Need To Drill?
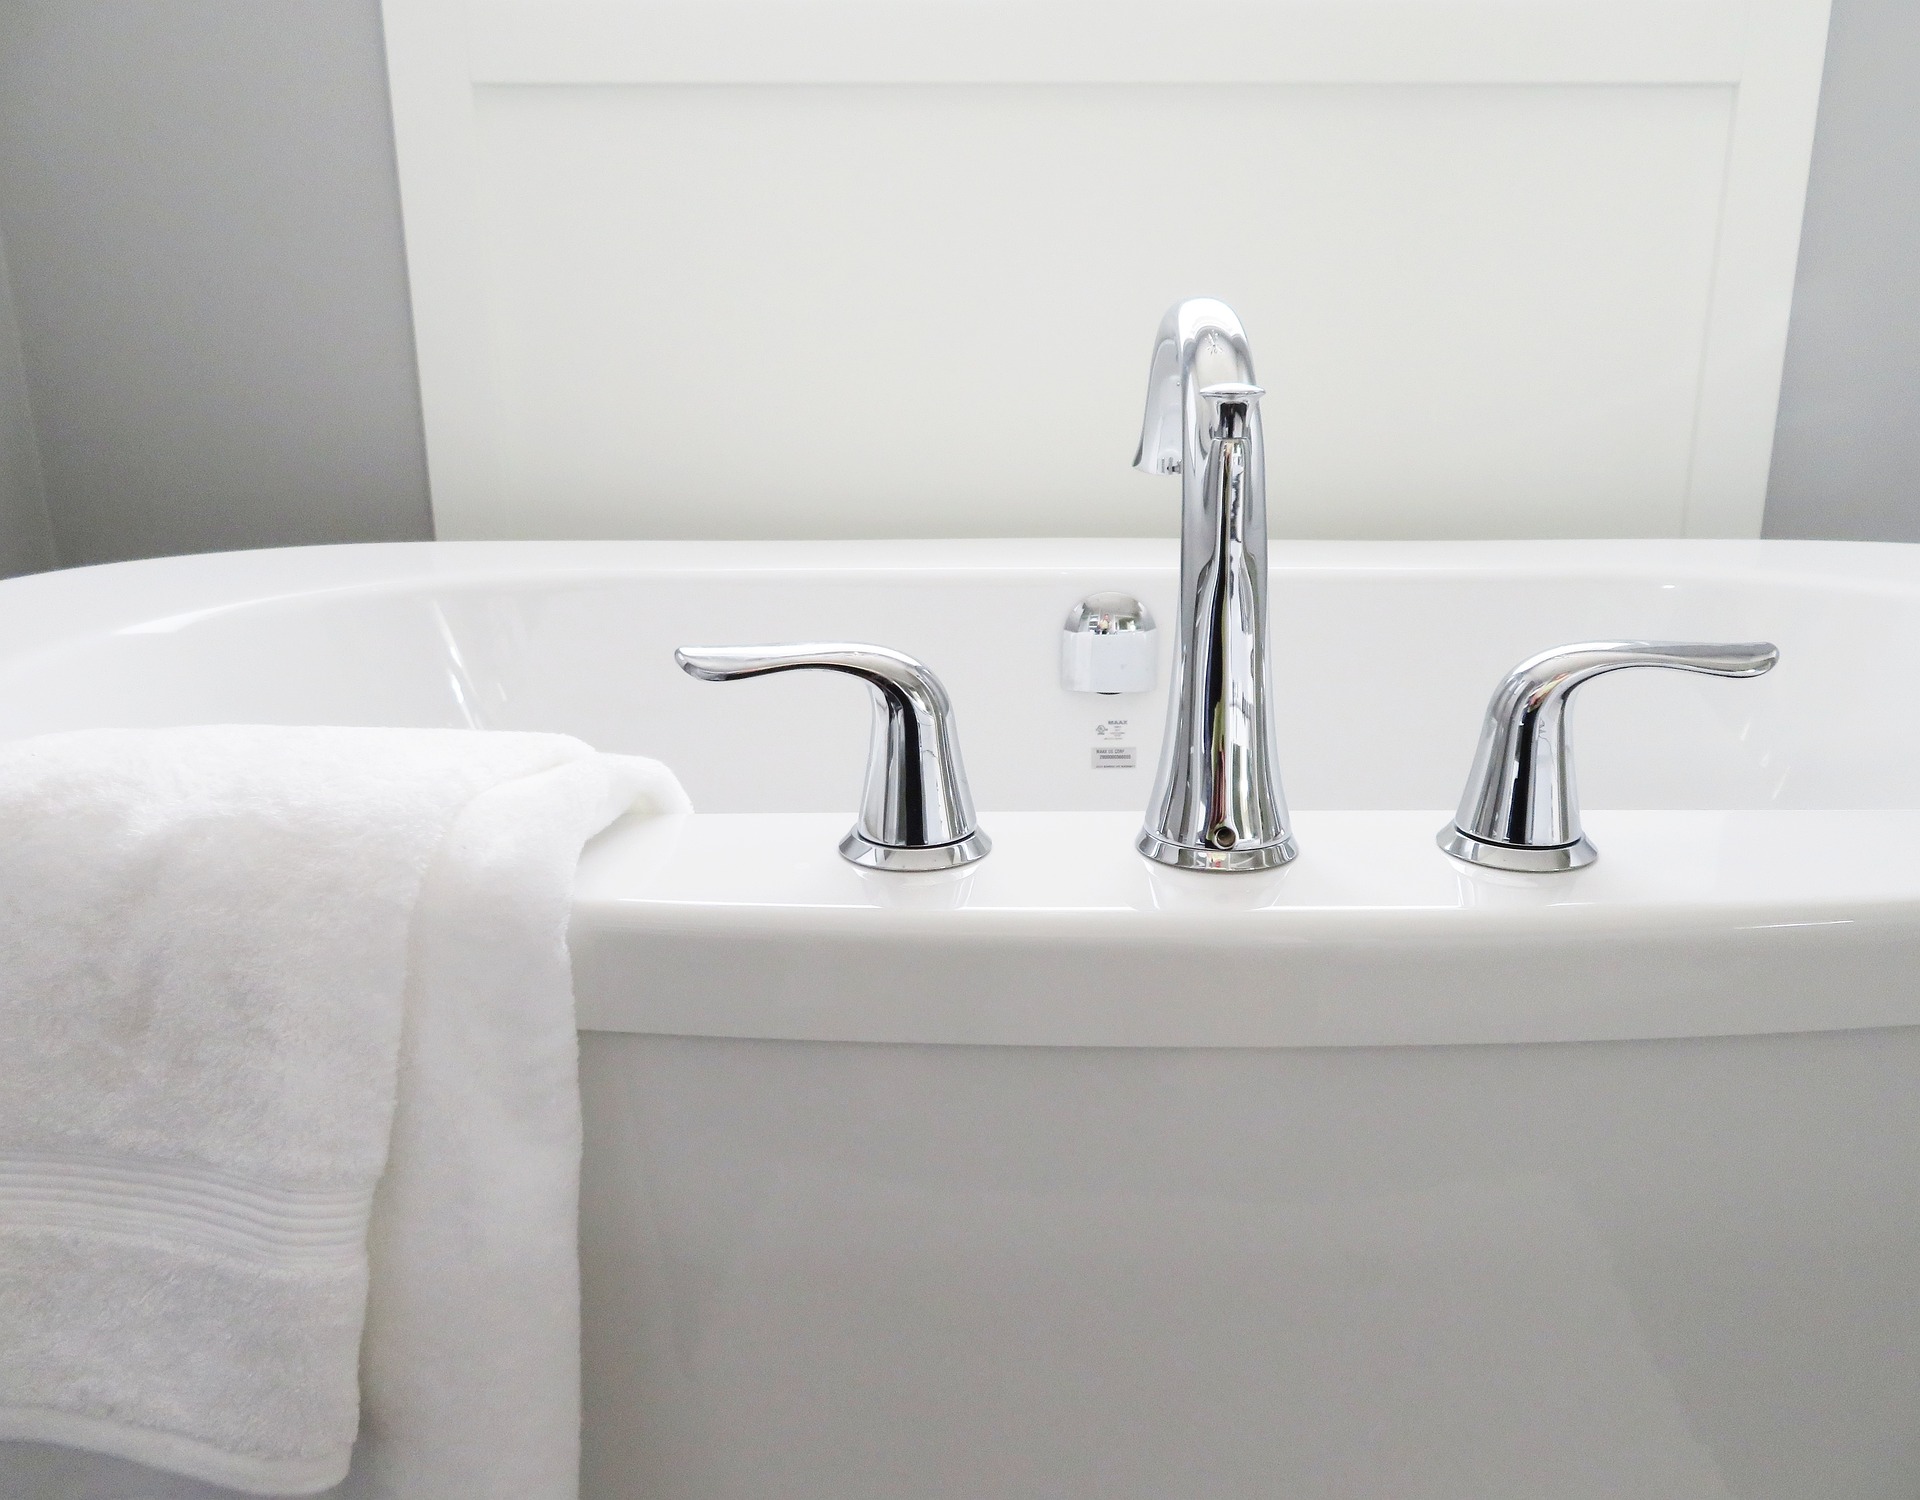
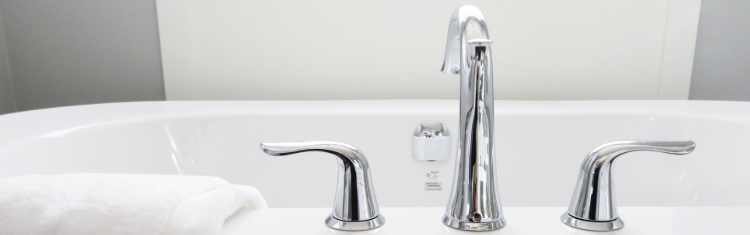
That all depends on what kind of tap(s) you’re planning on fitting. Bath taps come in a broad variety of styles and builds, and will require either two or three tap holes to install. The majority of bath taps, including pillar taps, bath mixers and most bath/shower mixers, will only need two tap holes. However, certain models do use a three-hole design. For example, the tap could feature individual hot and cold handles that are separate from the spout, or even a deck-mounted shower handset that requires an extra tap hole.
How Big Should My Bath Tap Holes Be? What Size Hole Cutter Do I Need?
Again, this is all determined by your chosen tap model. The tap hole needs to be big enough to accommodate the tap’s body and the piping it’s fitted into. The standard UK tap thread is ¾” (⌀25mm) British standard pipe (BSP), while the hole itself varies in size depending on the tap itself. Bath taps and spouts usually require holes measuring somewhere between 22mm and 35mm in diameter.
You should always carefully check the specifications provided with your tap to find out exactly what sized holes you’ll need to drill. If you’re still not sure, ask the manufacturer. Once you’ve found out for certain, you can pick up a matching hole saw drill bit to carry out the job with.
How Far Apart Should My Bath Taps Be Spaced? Are All Bath Taps Set The Same Distance Apart?
You can probably guess the answer to this by now, but here it is anyway: it depends on the tap! Whether you’re going for a two-hole mixer tap or separate hot and cold pillar taps, the required space between the holes varies from model to model. As ever, always, double check the technical information supplied with your taps to find out for sure. After all, if you get the spacing wrong, your bath will likely end up adorning a skip somewhere instead of your bathroom’s trendy interior.
How to Drill Tap Holes in a Bath
Now that we’ve got the preamble out the way, let’s fire up the drill and have some fun (safely and responsibly, of course). The following instructions apply to both acrylic and fibreglass baths, which are the most common types of tubs that require drilling (more detail on each later).
Step 1: Read the Instructions!

We’ve already been through the importance of familiarising yourself with your tap’s technical specs, but we’re going to mention it again just to reiterate. Always know your precise measurements before you begin, meaning both the size of the tap holes and the distance between them. There’s no going back once you start drilling, so check, check and check again. As the old plumbing adage goes, “measure twice, cut once”.
Step 2: Measuring and Marking
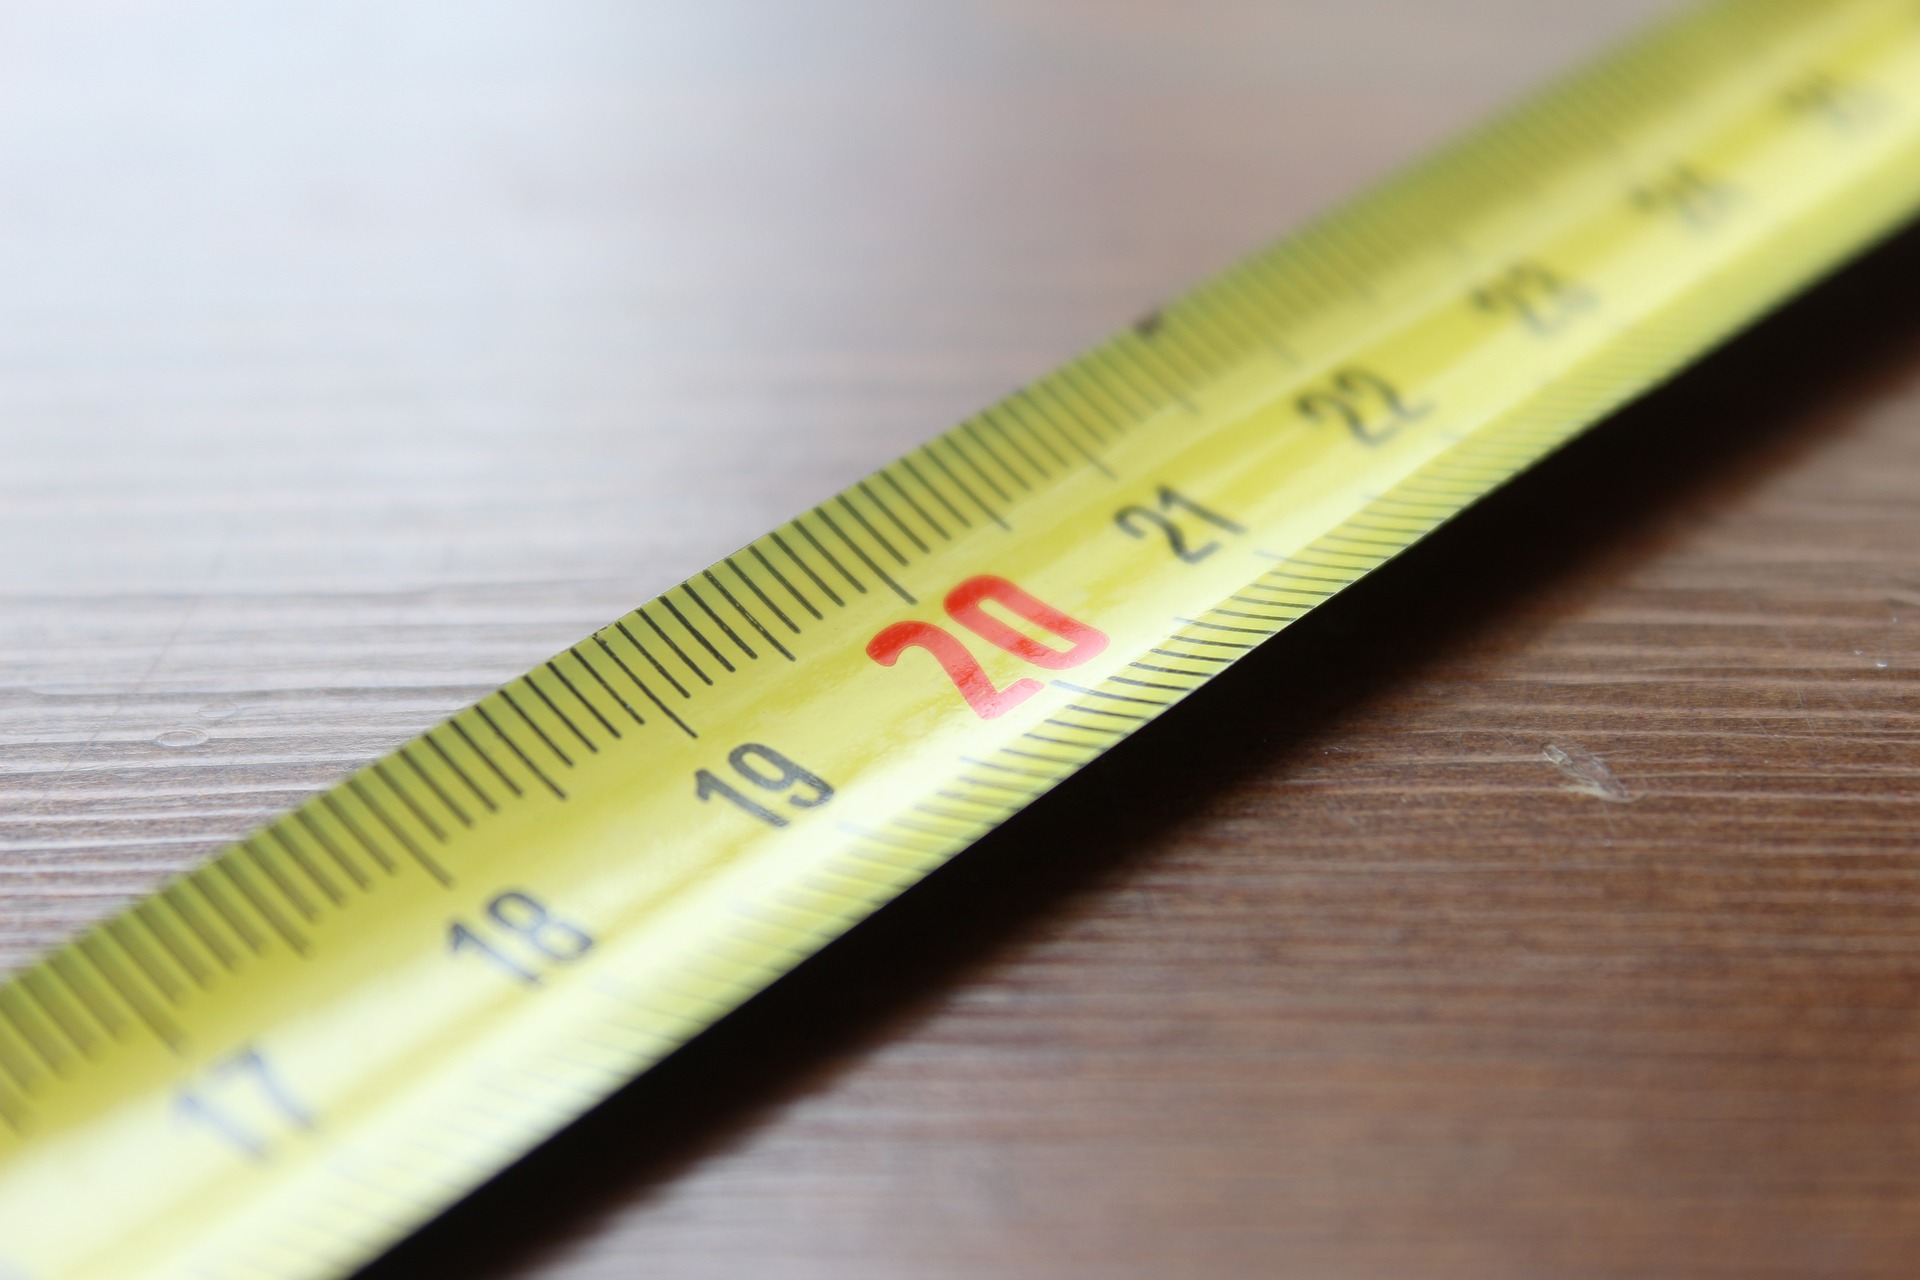
Once you’ve got your measurements nailed down, we can turn our attention to the bath itself. You should already know which edge of the bath you’re installing the taps on, so the first thing to do is cover this edge in masking tape (this enables you to mark it more easily with a pen or pencil). Once you’ve done this, measure the your bath edge with a tape measure and mark the centre point.
Next, you need to measure where your tap holes are actually going, relative to the centre point you’ve just marked out. Check (and double check) your tap’s instructions again to be extra sure of the precise spacing, then use a ruler or tape measure to mark these as well. It’s a good idea to draw circles with a small cross in the middle to mark exactly where to place your drill bit. The circles should be the same diameter as the hole saw drill bit you’ll be using.
Note: If your tap comes with washers, you can simply place the washer down and trace around its internal circumference to create your guiding circle.
Step 3: Create Your Pilot Holes
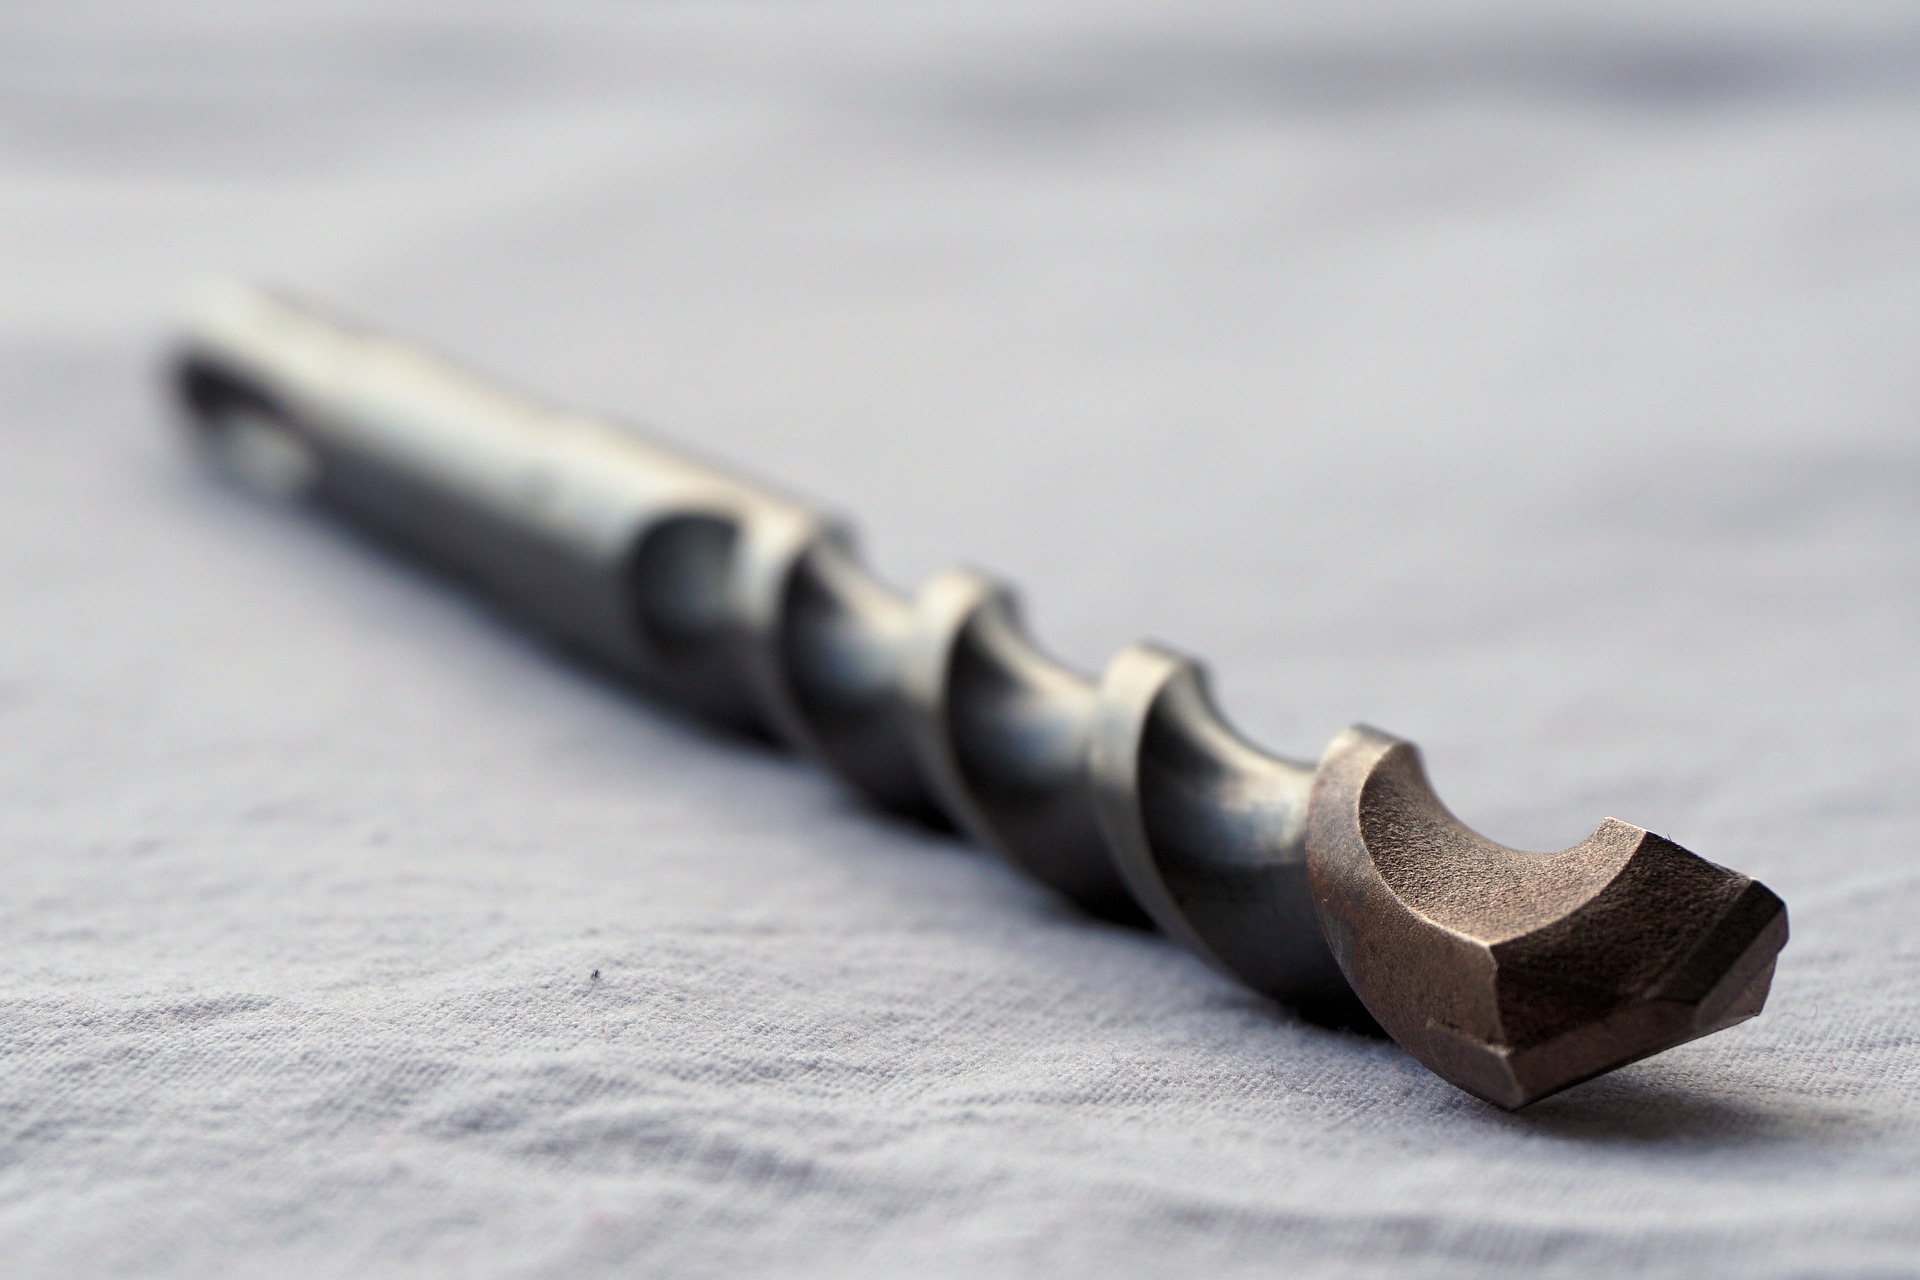
It’s drilling time! Once you’ve double checked the positioning of your markings, we’re ready to make our pilot holes. Make sure you don your goggles and gloves (it never hurts to be careful), and attach a small, 1/8-inch drill bit to your electric power drill. Remember, pilot holes don’t need to be deep. They’re simply there for guidance, creating a shallow incision that provides an accurate entry point for the main tap hole drilling.
Step 4: Drilling the Tap Holes
Replace the 1/8-inch drill bit with an appropriately sized hole saw drill bit. Place the drill bit over the circle you’ve marked out, ensuring the point is sitting snugly in the primer hole. Now, drill slowly and steadily straight down through the bath, taking your time and working carefully until you’ve cut all the way through.
Congratulations, you did it! Just clean up the resulting debris and you’re all ready to fit your bath taps.
Drilling Acrylic Baths
Acrylic is by far the most common material used to create baths these days. It’s affordable, durable and highly malleable, which means it can be moulded into a wide variety of shapes, sizes and styles. Acrylic baths are also super easy to drill through, making them ideal for beginners and experienced DIYers alike to tackle.
Drilling Fibreglass Baths
Sometimes, acrylic baths are finished off with a fibreglass coating to increase their resilience. If this is the case, the process of drilling is still exactly the same. The only difference is that fibreglass tends to be a little temperamental when drilled, which sometimes results in random shards flying all over the place. This is why goggles and gloves are a must!
Drilling Metal Baths
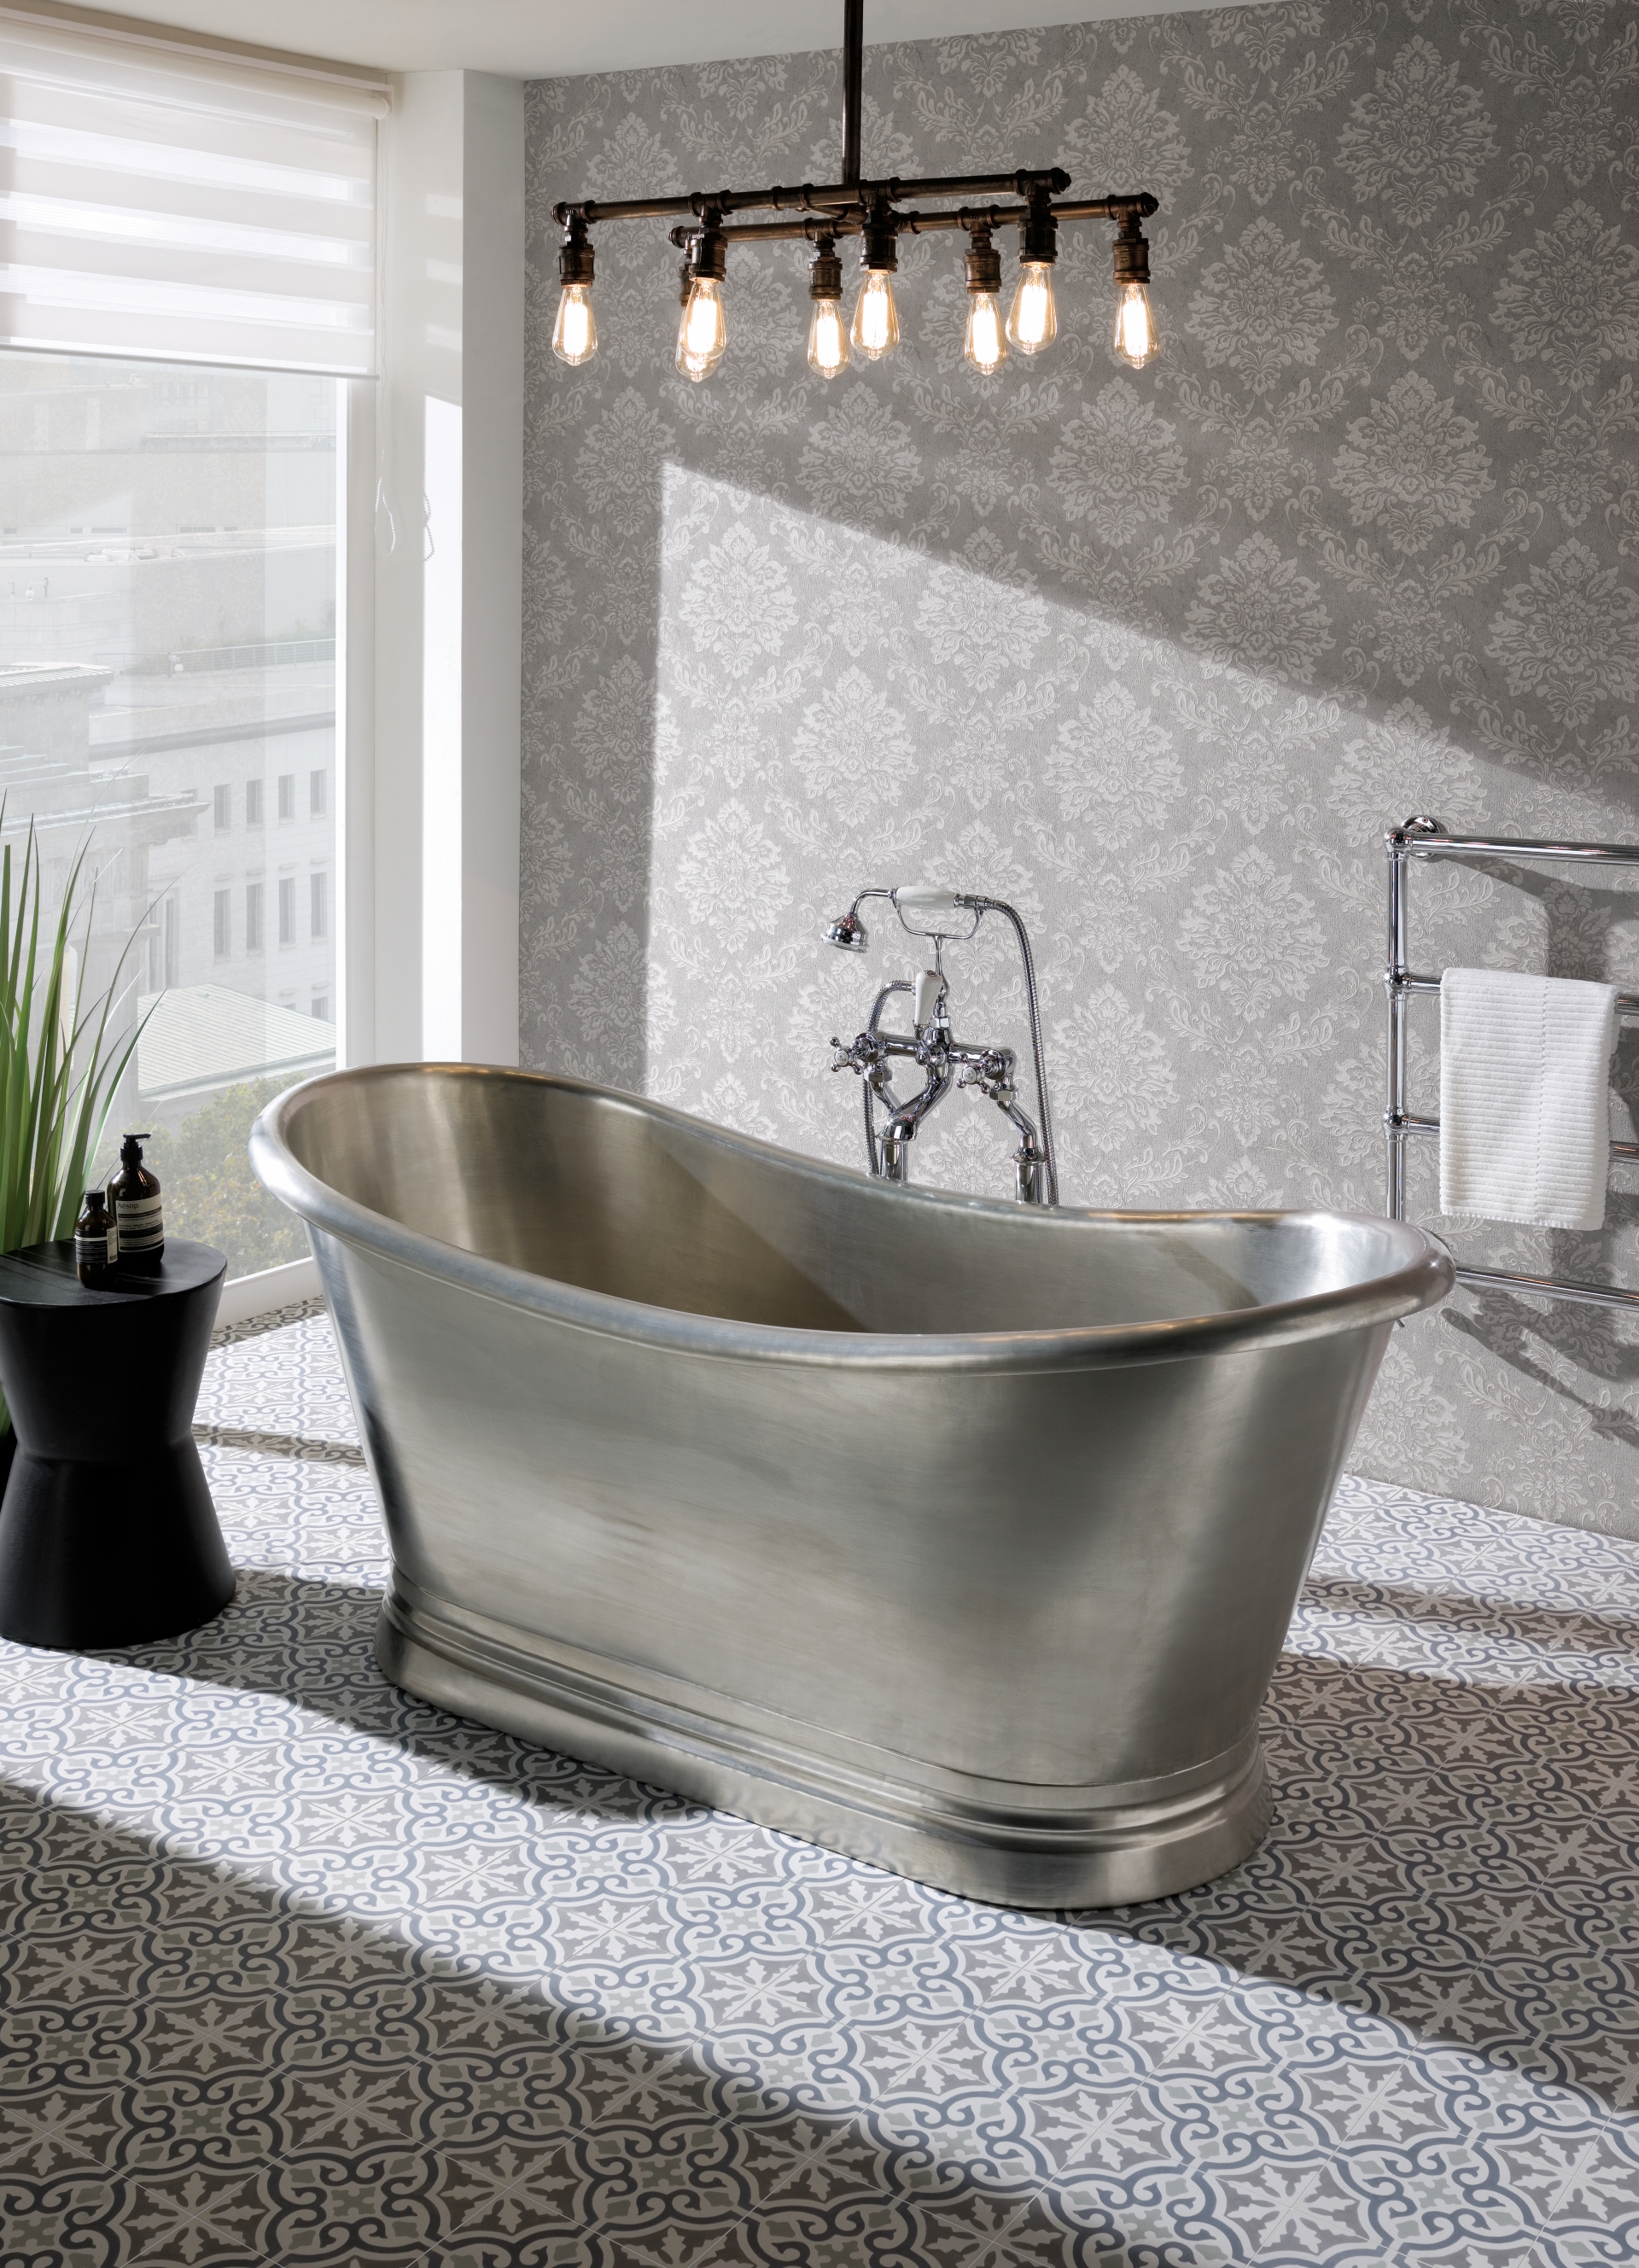
Unfortunately, we really cannot recommend attempting to drill tap holes in a steel or cast-iron bathtub at home. This is a job best left for the pros, requiring specialised equipment and a more complex process to protect against the inevitable rusting and degradation that will occur around the tap holes. Metal baths are also often coated with enamel, which can easily shatter if not drilled correctly.
If you have an undrilled metal bath, we’d suggest going for wall-mounted taps or a freestanding bath filler instead of trying to drill it.
What if I Make My Tap Holes Too Big, or Even Get the Spacing Wrong?

Heh, well… remember that skip we mentioned earlier? It’s about to be blessed with a nice new bath. The reason we repeatedly stressed the importance of getting your measurements right is that you really only get one shot at drilling a bath. You can’t un-drill a hole (unless you’re some kind of eldritch time wizard), so your only option is to look for alternative taps that fit the holes and the spacing you’ve ended up with.
You could try using stainless steel washers to make the taps fit. However, even if you found washers that fit both the hole you’ve drilled and the taps you want to install, it would still most likely resemble an awkward, unappealing botch job. Thus, the lesson here is to make sure you know exactly what you’re doing before you start, and to exercise great care whilst performing the job.

So, all being well, you should now be the proud owner of a smart, freshly drilled bathtub ready to accommodate the taps of your dreams. If you’re looking for further bathroom guidance and advice, don’t forget to browse the rest of our blog and check back regularly for new updates!