How to Clean An Exhaust Fan In A Bathroom
We know it’s not a job that’s top of anyone’s favourite to-do list, but keeping your bathroom’s exhaust fan clean is a vital part of caring for your bathroom and making sure it’s mould- and mildew-free. Heat and humidity aren’t good for your grouting, your décor or your sealant – and if your exhaust fan isn’t working properly, it won’t be able to keep them under control.
Fear not! How to clean the exhaust fan in your bathroom is easier than you might think. Read on for our expert how-to guide.
Turn off the Power
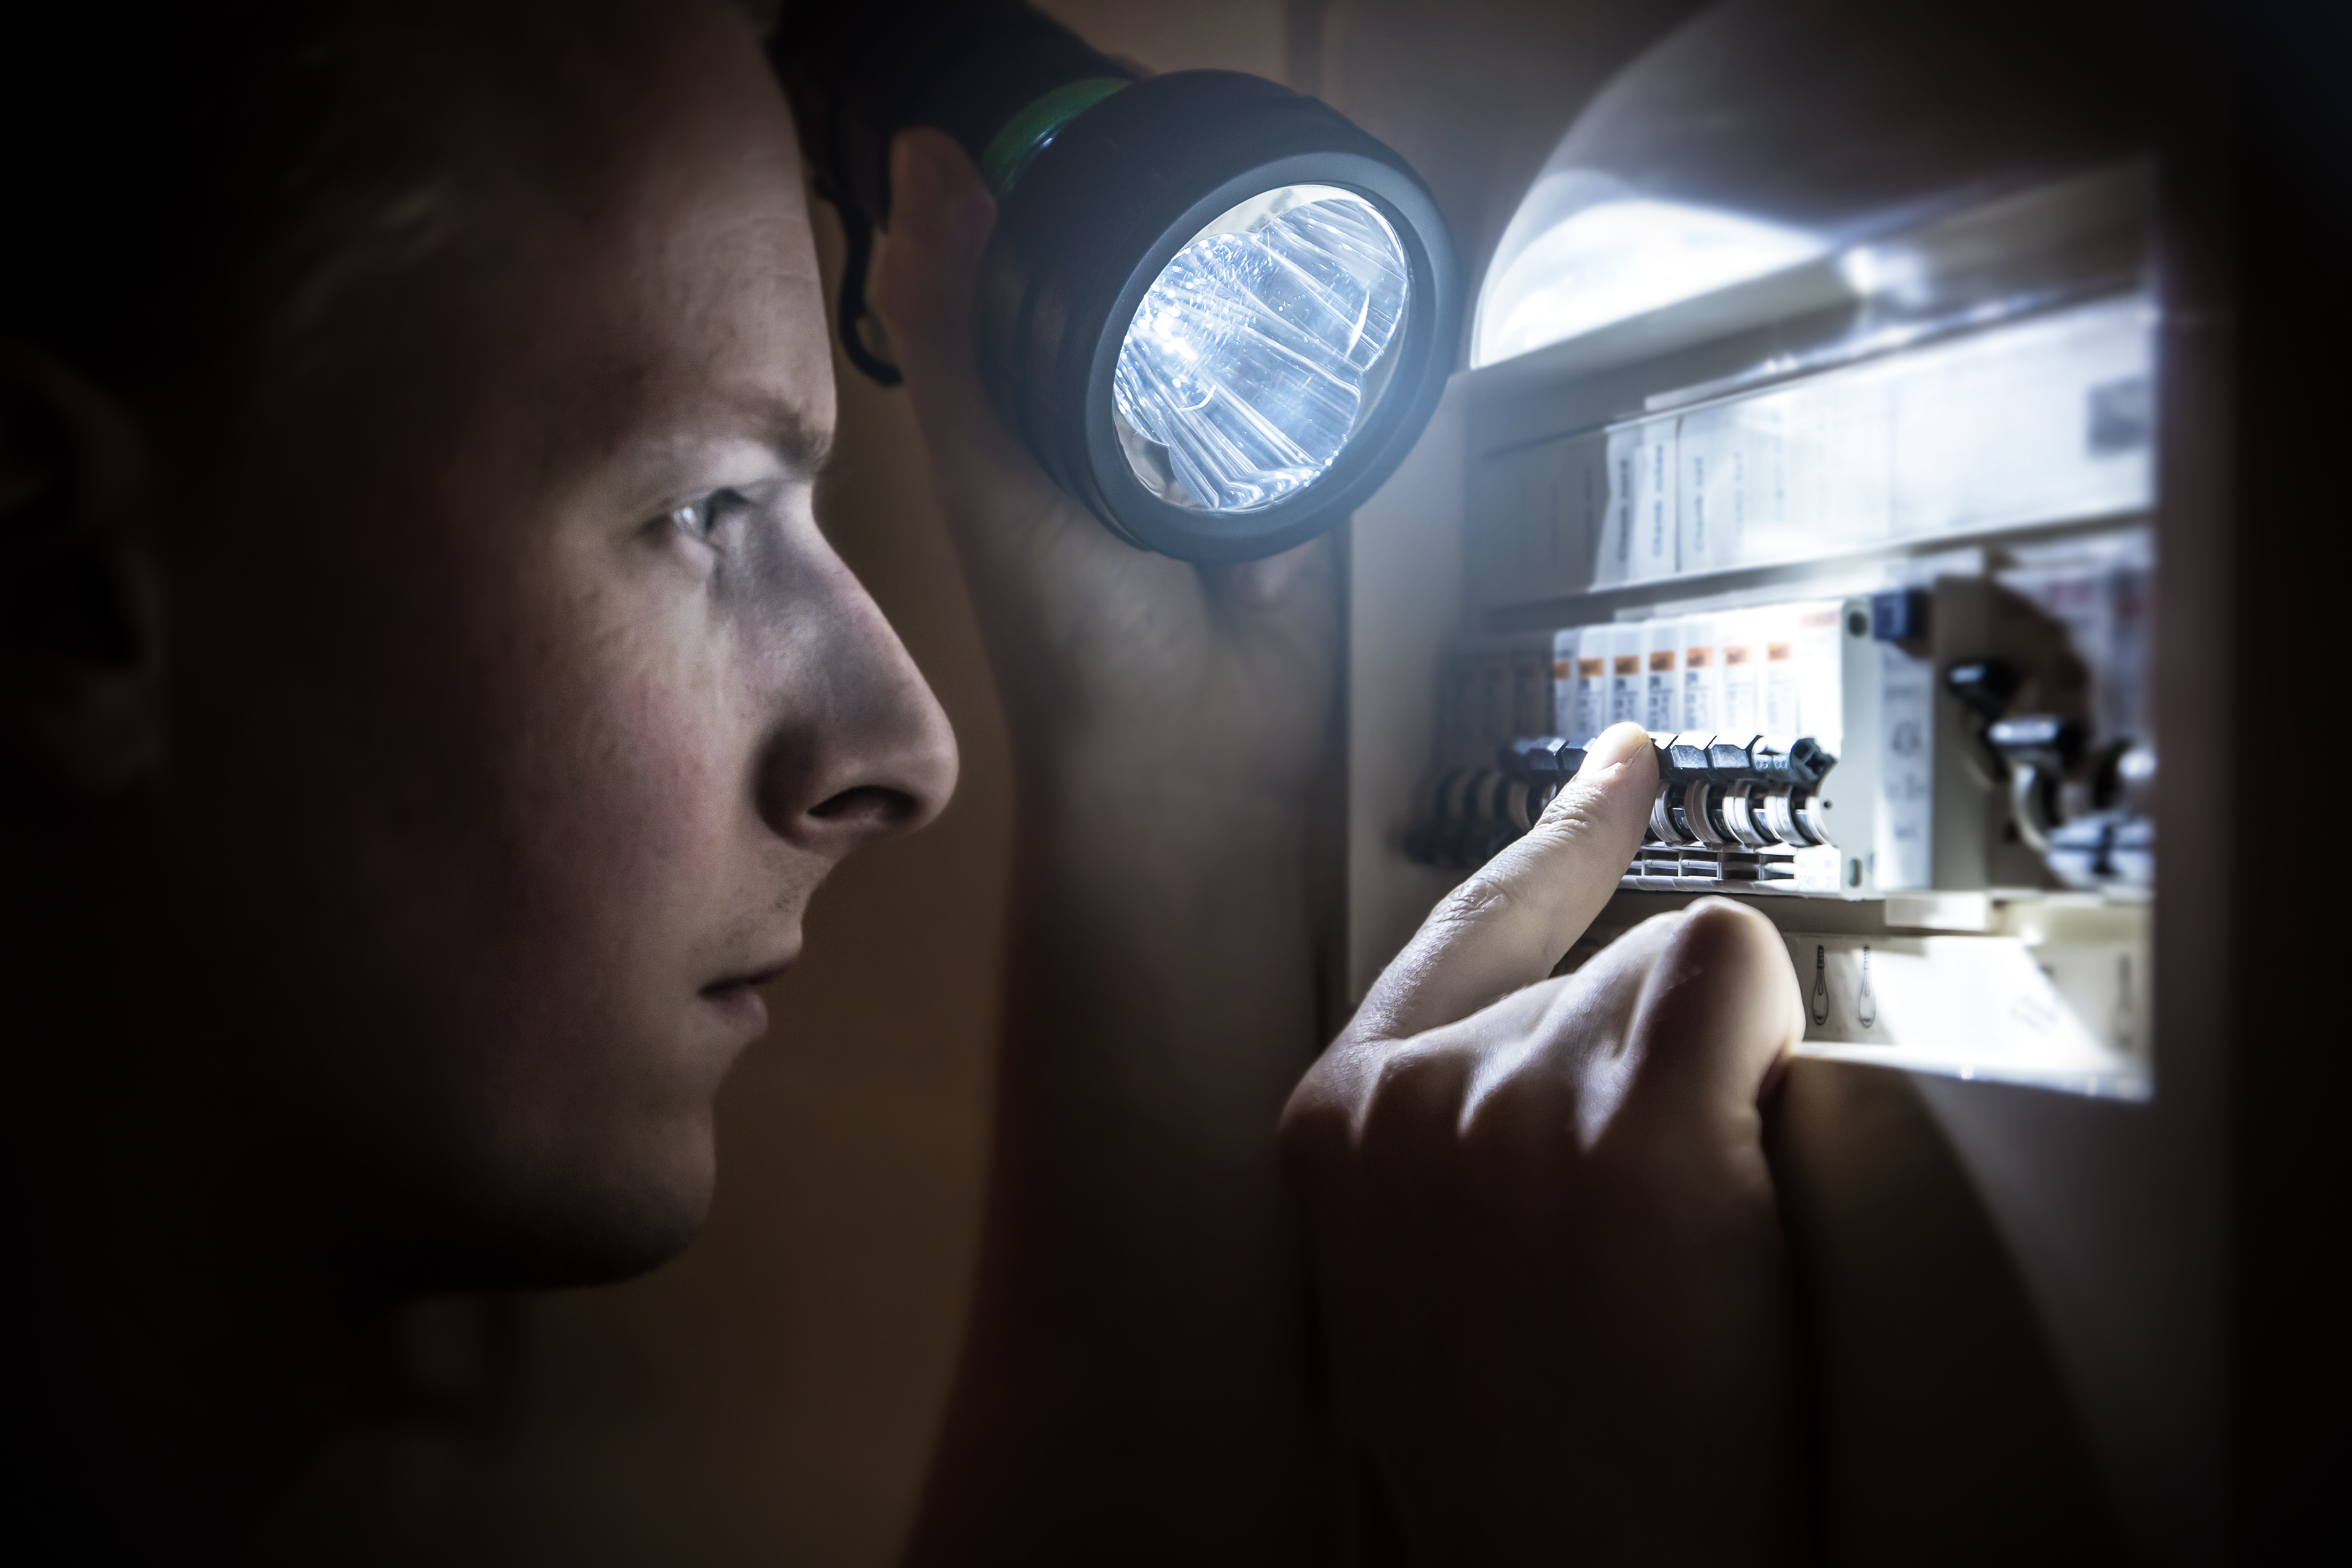
Safety first! Before you begin cleaning, turn your fan off. Many models have a switch that’s located behind the cover. But as an extra precaution, turn off your bathroom electricity circuit so that nothing is live.
Clean the Cover Surface
Begin by getting rid of any visible dirt and dust on the outside of the fan cover. Removing any surface dirt before cleaning the inside makes the job a bit quicker – and also ensures that you don’t end up with a floor full of dust when you do take the cover off!
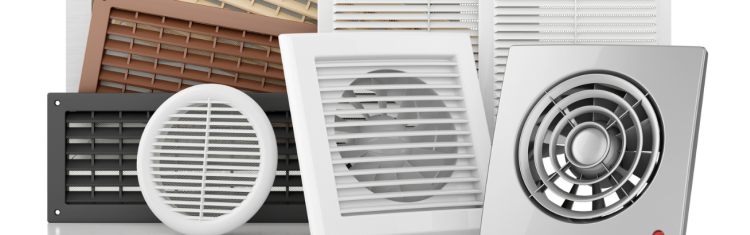
Remove the Bathroom Fan Cover

Most bathroom exhaust fans have a plastic cover that’s held in place with small springs or prongs. You’ll need to squeeze these together (or possibly unscrew them, depending on the type of fan fastenings you have) to loosen the cover and then fully remove it. Once the cover is free, you can easily wash it in the sink or bath. Clean both sides gently but thoroughly using a small brush and plenty of warm, soapy water. Rinse and dry, ensuring everything is completely moisture-free.
Top tip: when you first loosen the fan cover, take a photo on your phone so you have a visual reminder of how to put it back later.
Clean the Fan Interior

Now it’s time to spruce up the interior parts of your fan, which remain fixed in your bathroom ceiling. Dislodge as much dirt and dust as you can, being careful not to loosen or pull out any wires as you do so. Some fans can be removed form the ceiling. If you have a model like this, be very careful not to damage the fan blades, as this will make it less effective. If it’s accessible, use a brush or cloth to clean the fan exhaust pipe.
Replace the Cover
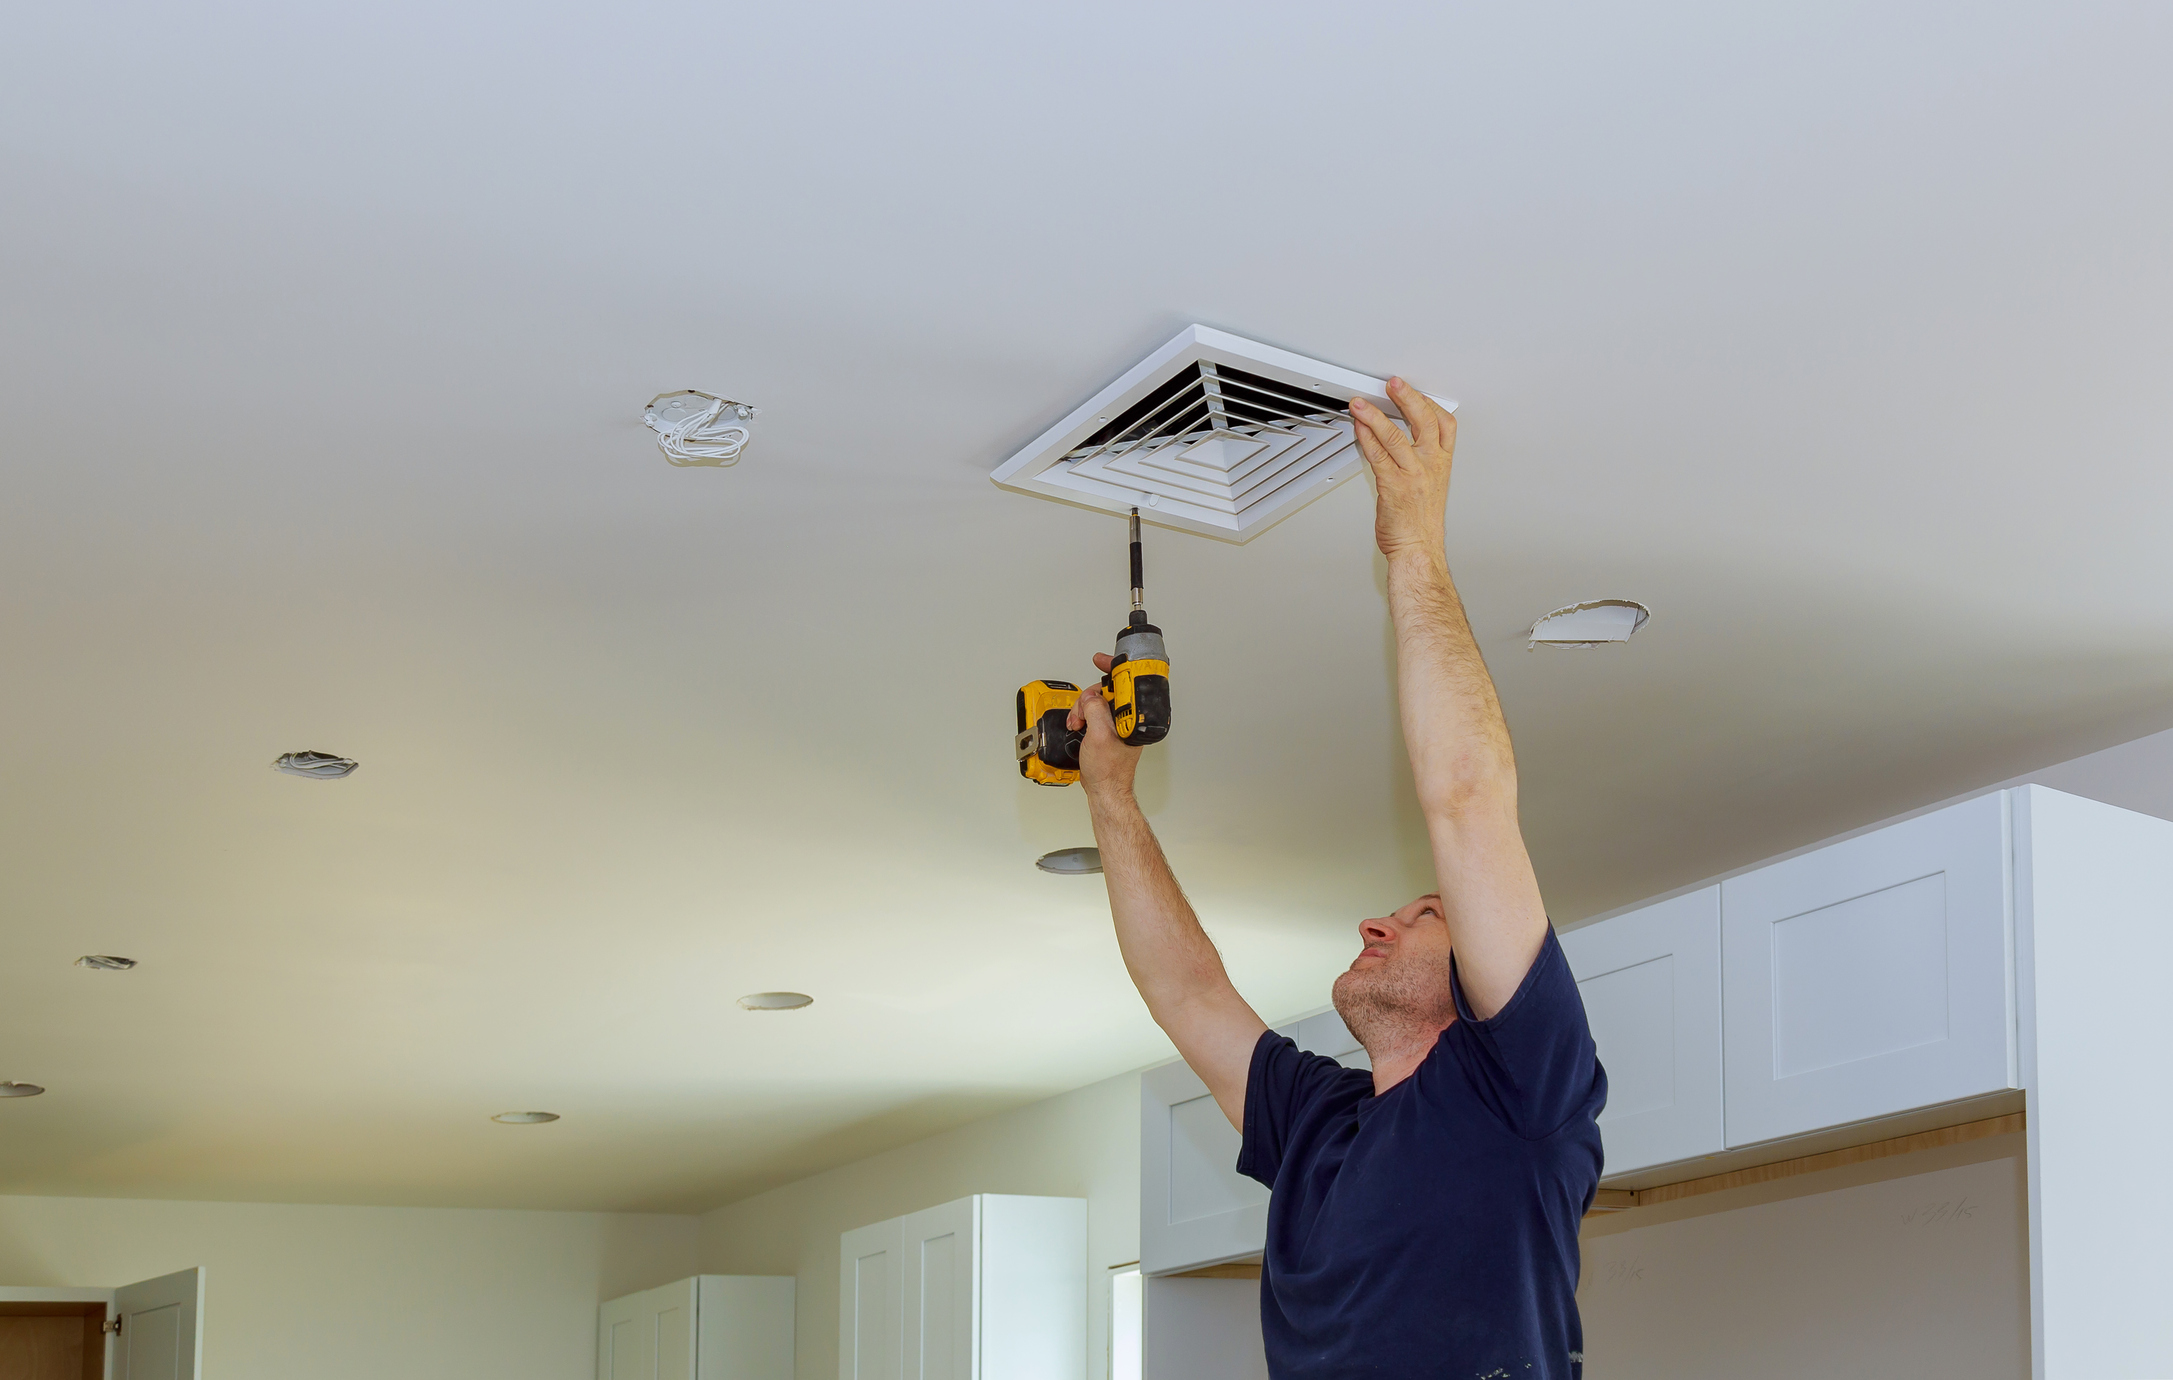
Once you’re satisfied that everything is as clean as possible, you’ll need to put your fan back together. Once again, squeeze the cover springs together; position the cover in the right place; then gently push it up until it’s lying flush against the ceiling.
To test that everything is in the right place and functioning correctly, simply turn the power and fan back on. The fan should sound quieter, and the air flow should feel stronger.
Congratulations on a job well done! All that remains to do now is mark your calendar for a repeat clean in six months’ time.