How to Stick A Mirror to Bathroom Tiles
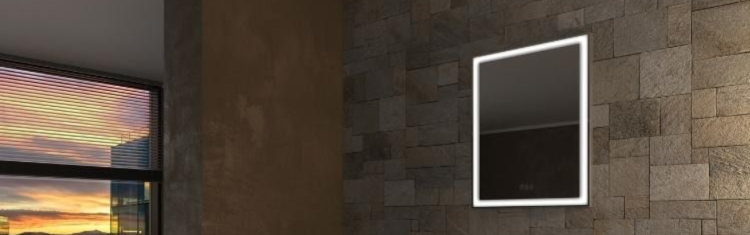
Let’s face it – no modern bathroom is complete without a bathroom mirror. But how do you stick a mirror to bathroom tiles? There’s a huge variety of shapes and styles to choose from, including frameless, magnifying, illuminated, swivel and bluetooth. With such a wide range available, making the right choice can be difficult. But that’s nothing compared with how daunting the task of actually hanging your mirror might seem! Don’t worry, help is at hand. Our experts have put together these simple guidelines to help you tackle the task with confidence.
Many people aren’t sure how to stick a mirror to bathroom tiles, and there is no ‘one-size fits all’ solution. A lot depends on the size and weight of your mirror, plus the composition of your walls. Hi-tech, multi-function mirrors are a game-changer. But they do need to be connected to an earth wire, so if you’ve set your heart on this type of model, do please enlist the services of a professional, to ensure the job is done properly. Minimalist, slimline, lightweight stick-on bathroom mirrors that do not require anchor screws are the best choice for DIY installations, for obvious reasons.
Fail to Prepare, Prepare to Fail
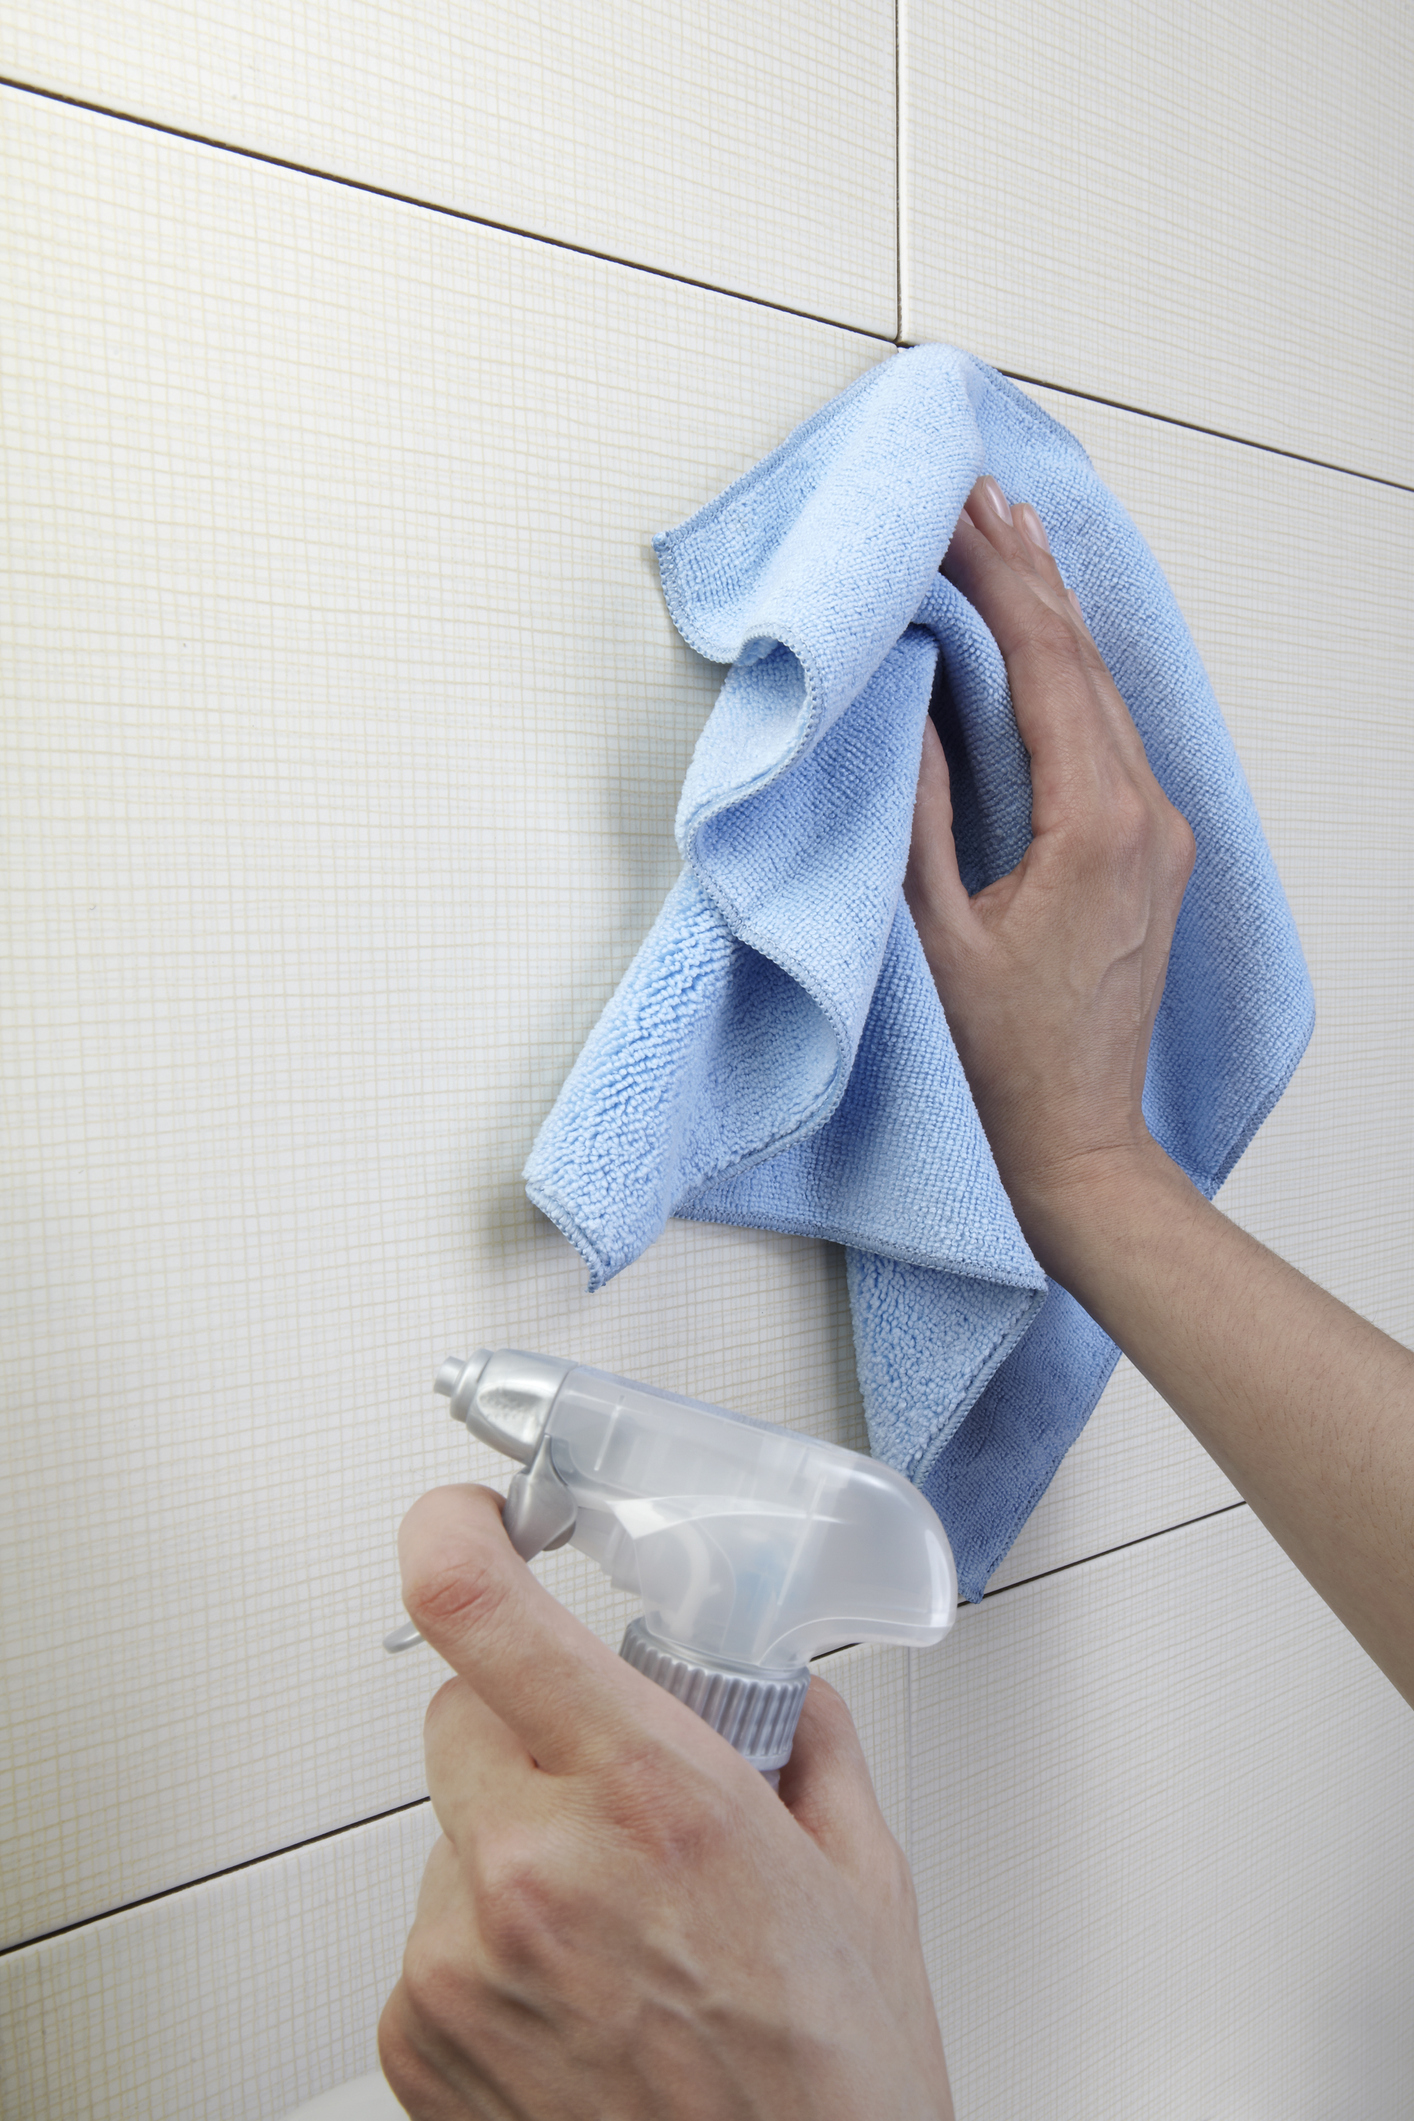
As with so much in life, preparation is key. Before you begin, make sure that your wall surface is spotlessly clean. Use a soft cloth and your choice of cleaning fluid to remove all traces of dirt, dust and grime. Next, smooth some strips of double-sided adhesive tape onto the back of the mirror, running parallel to its edges. For added strength, apply a trail of silicone alongside the 'frame' of double-sided tape. Bear in mind that the amount of tape or silicone you need will depend on the size and weight of the mirror. If in doubt, do not skimp!
The Perfect Position
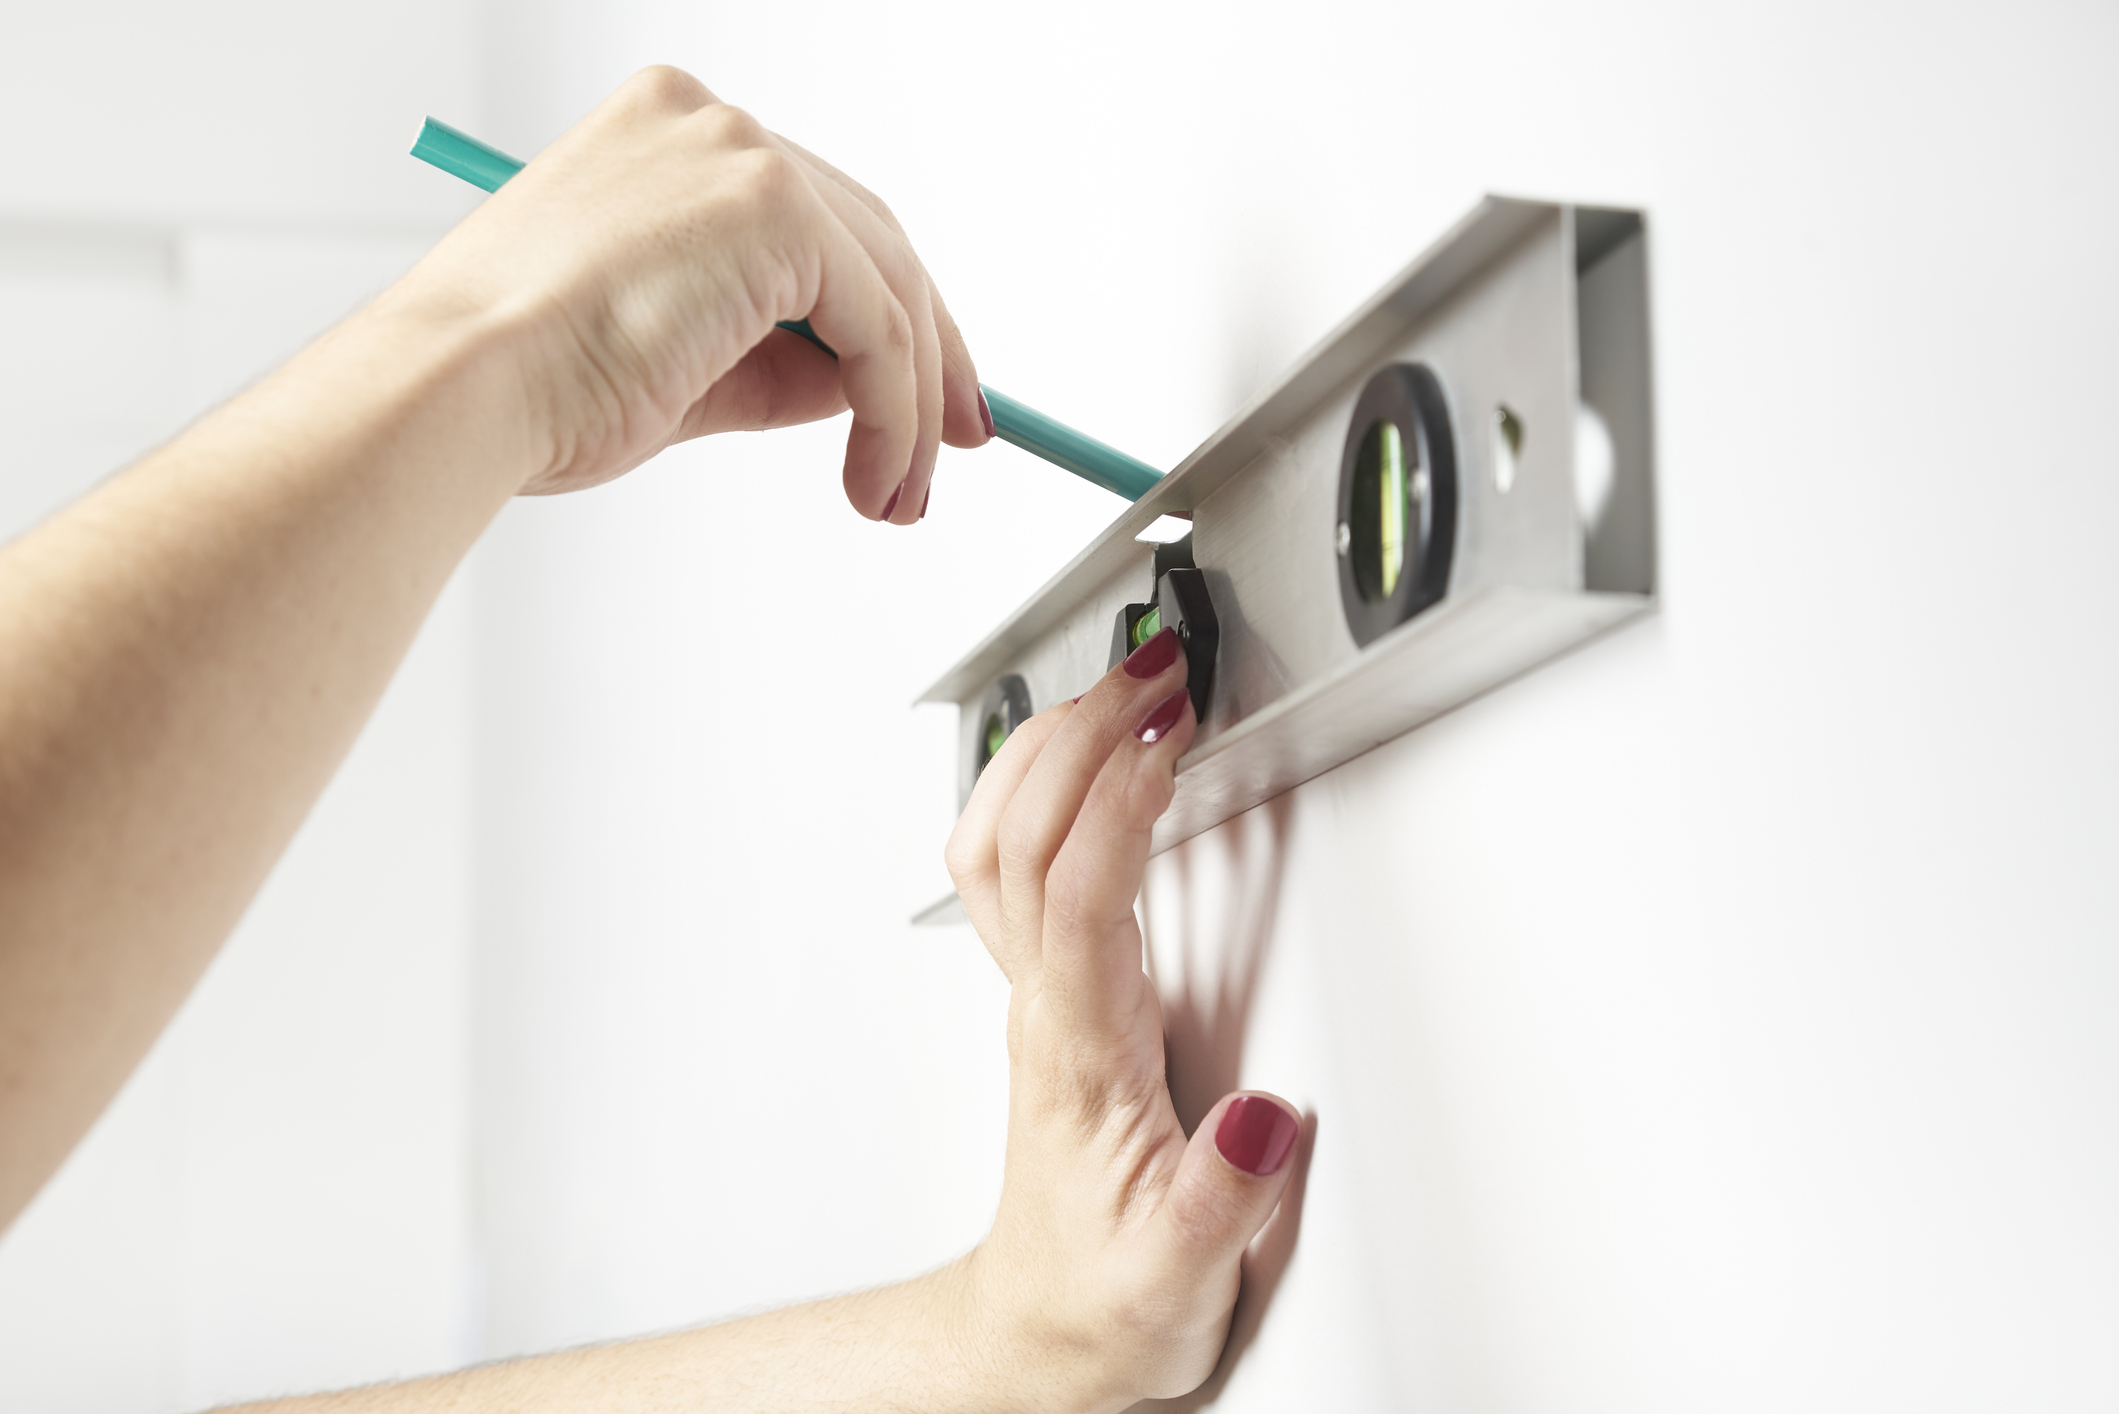
Working out exactly where you want your mirror to be is another vital step. Choose your location, then use a pencil and spirit level to mark where the outside and bottom edges of your mirror will be. It makes sense to position your mirror so that the top of it it sits squarely in the middle of your tiles.
The Sticking Point
When you stick a mirror to bathroom tiles, a little support comes in very handy. Stack some sturdy boxes or packing blocks until they are level with the bottom edge you have marked on your wall. If you like, you can even secure these blocks to the wall (masking tape is fine for this) for added stability. Carefully remove the backing from the double-sided tape on the reverse of your mirror (if you can enlist some help from a friend for this part, we would recommend it (an extra pair of hands is always mighty useful wherever anything sticky is concerned!). In case of disaster in the guise of a dropped mirror, now is the time to protect your eyes and hands with safety glasses and gloves.
Next, carefully place the bottom of the mirror on your support boxes or blocks and position it on the wall. Apply gentle pressure to the glass, first in the centre, before moving out towards the edges. This should spread the silicon more evenly, which in turn improves the bond. Complete the process by applying adhesive tape to the mirror corners and then wait! To successfully stick a mirror to bathroom tiles, the silicone will need at least 24 hours to set completely. So do not be tempted to touch it again before this!
Once the silicone has cured completely, you can removed the corner tape and admire your new mirror.