How to Grout Bathroom Tiles
If you’re fitting or renovating a new bathroom, making sure grouting is done properly is the key to longevity, aesthetics, and quality of the finished tiling job. After the difficulty of fitting your bathroom floor and wall tiles, putting time and attention into the grouting can help you complete a bathroom redesign to a professional standard.
Laying Your Tiles
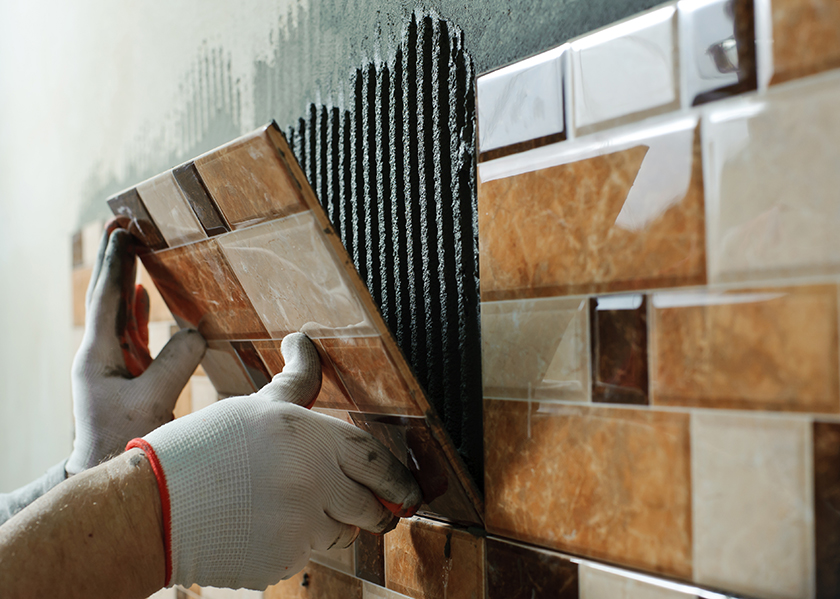
The first stage of grouting bathroom tiles is, of course, laying the tiles to begin with. When laying bathroom tiles, it’s important to make sure each section is completely level, and that the tiles have been spaced out enough to allow grout to enter and seal the tiles together.
Grouting can only be done once your tiles are fixed in place and the adhesive you’ve used to fit them is completely dry. Attempting to grout with wet adhesive will be a messy experience that we don’t recommend, so consult the instructions and wait until everything is rock solid before proceeding.
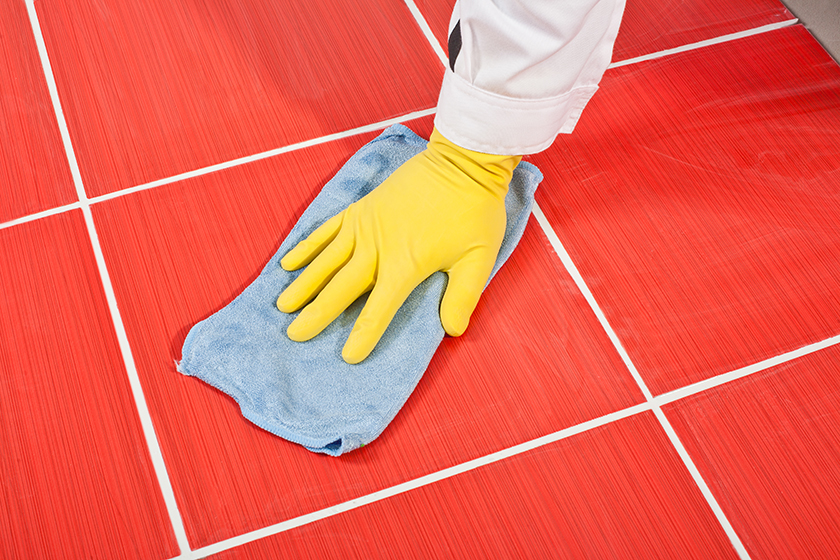
Cleaning your surface is another important step before any grouting can begin, otherwise, you risk mixing dirt, dust, and other debris in with your grout. Clear away any dust or tile scraps, then use a hoover to get rid of any dust or general dirt build up that DIY projects can often create.
What You Will Need
- Buckets
- Water
- Grout powder
- Float
- Safety goggles
- Dust mask
- Plastic gloves
- Grouting trowel
- Cloth
- Sponge
- Sheets (to cover the ground)
Preparation
Before taking the first step, prepare for the task by clearing the area you’ll be working in and putting on some old clothes that you don’t mind being potentially stained or ruined. Next, put on your safety goggles and plastic gloves, and lay down the ground sheets to cover anywhere you don’t want to spill grout.
Mix the grout
The first stage is mixing your grout. First, pour in a small amount of water, then add your grout powder (consult the instructions on the packet to get an idea about the ratio you’ll need). Mix the grout together until it has a medium consistency – the general rule of thumb is a toothpaste-like consistency (or smooth peanut butter).
How to Apply Grout
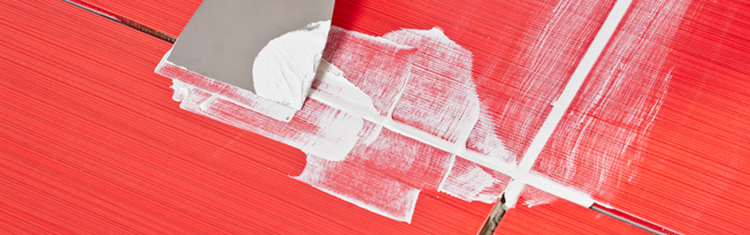
Remove the spacers from between your tiles, then begin by dipping your float into the grout and spreading it across the tiles, being sure to fill in every gap thoroughly (it’s better to have lots of overflowing mixture than not enough).
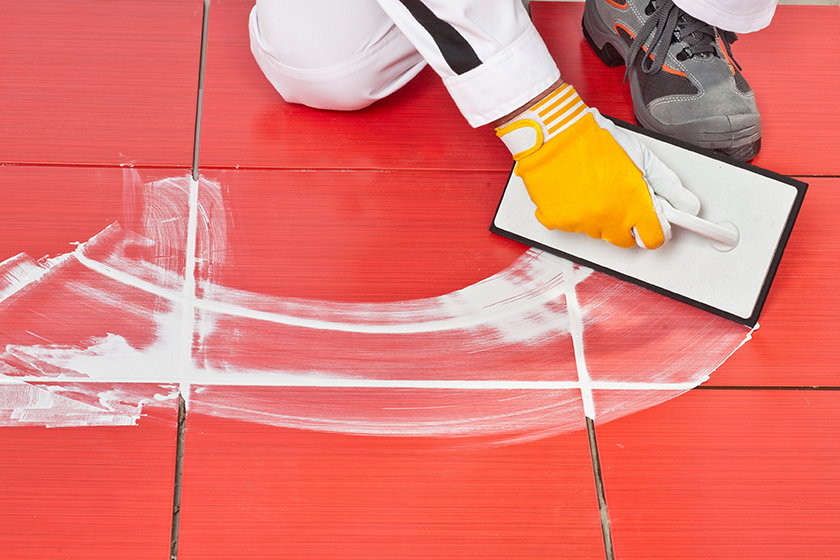
As you go, use the flat edge across the tiles to sweep away the excess grout mixture so it doesn’t begin to set in large clumps. Keep applying the grout until every space between the tiles is filled.
Wipe Away Excess Grout
To clean up your grouting and to ensure no messy marks remain, clean any excess thoroughly using a damp sponge. This stage is key to achieving a smooth, sleek effect. Wait 20 minutes or so until your grout has started to dry and harden, then wipe diagonally across your tiles to remove the excess, being careful not to wipe away too much grout from between your tiles.
Once the grout is looking tidy and has completely dried, wipe away any remaining marks using a dry cloth or towel.
Regrouting Tiles
If you only want to refresh your bathroom grout rather than replace the tiles completely, it is possible to regrout your existing bathroom tiles to improve the appearance of your walls or floor without undertaking a significant remodelling job.
What You Will Need
- Electric or manual grout remover
- Buckets
- Water
- Grout powder
- Float
- Safety goggles
- Dust mask
- Plastic gloves
- Grouting trowel
- Cloth
- Sponge
- Sheets (to cover the ground)
Preparation
When regrouting tiles, follow many of the same preparation techniques as standard grouting, namely wearing safety goggles, a dust mask and laying down dust sheets to make the eventual clean up job easier. If you are regrouting the shower or wall above the bath, be sure to put the plug in so that grout shards do not fall down the drain and subsequently clog up the pipework.
Removing Grout
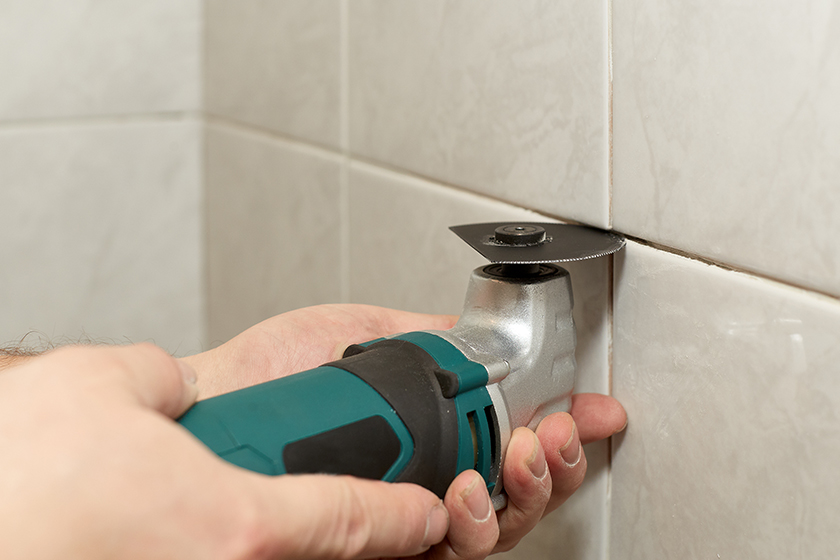
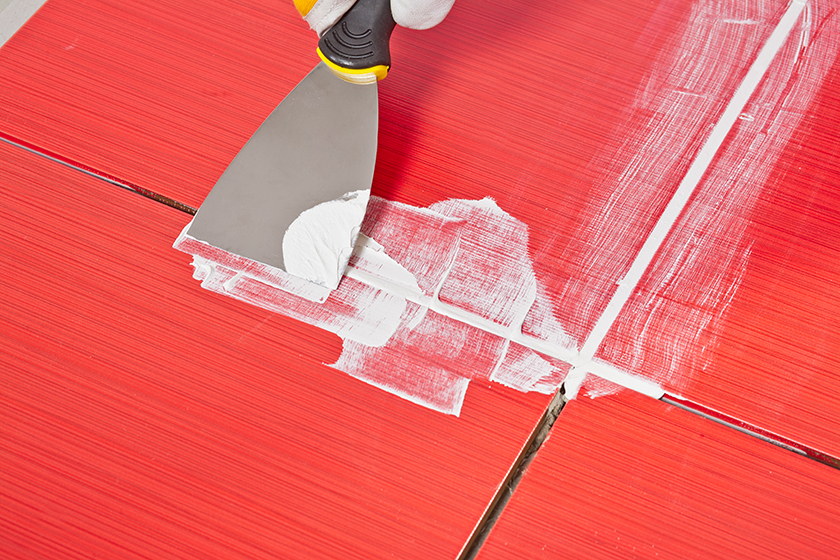
Removal of the existing grout is the most time consuming and labour-intensive part of the process, as all hardened grout can be tricky to remove, especially when using a manual grout scraper. We recommend using an electric grout remover (like the one pictured above) as this will speed up the process significantly, as well as being less hard work on your arms.
Whether you are using a manual or electric grout remover, it is important to be careful when scraping out grout, as damage to tiles can sometimes occur.
Cleaning the Area
Once the grout has all been removed, the next stage is clearing the area thoroughly to ensure there is no debris or pieces of hard grout laying around. This is an important stage, as accidentally blending the new and old grout could damage its appearance, making the process a little pointless.
Reapply the Grout
The next stage is to reapply the fresh grout by following our method above. Just like grouting for the first time, when you are reapplying grout it is important to be as clean and tidy as possible to achieve the best quality finish.
Looking to create a new bathroom in your space? Why not speak to one of our experts or book a 3D Bathroom Design appointment.